How To Add & Edit Barcodes In Your Label Design
Whether you're designing product labels or organizing your supply chain, adding barcodes shouldn't be difficult. Use the following steps to create single or multiple barcodes using our free barcode generator tool within Maestro Label Designer.
Single Barcodes
Launch Maestro Label Designer and sign in.
-
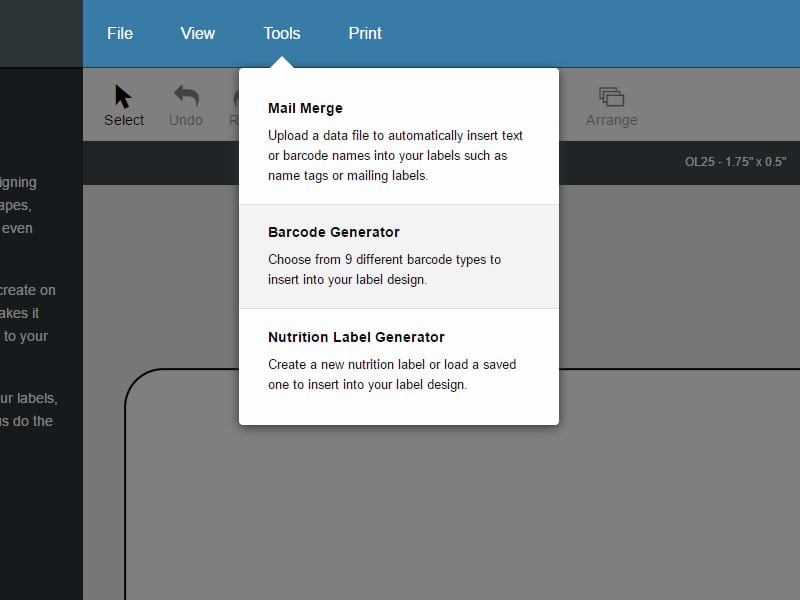
With your label template open, hover over "Tools" in the blue navigation bar and select "Barcode Generator."
-
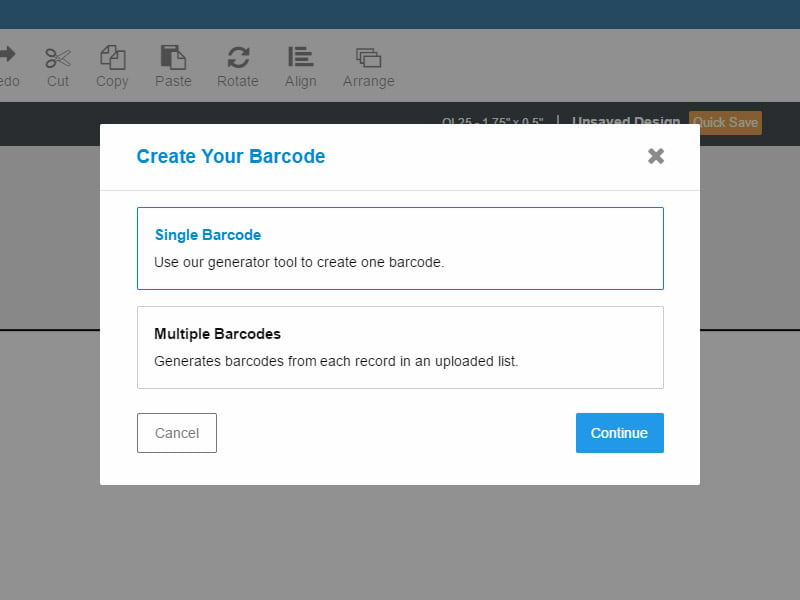
Ensure "Single Barcode" is selected and hit "Continue."
-
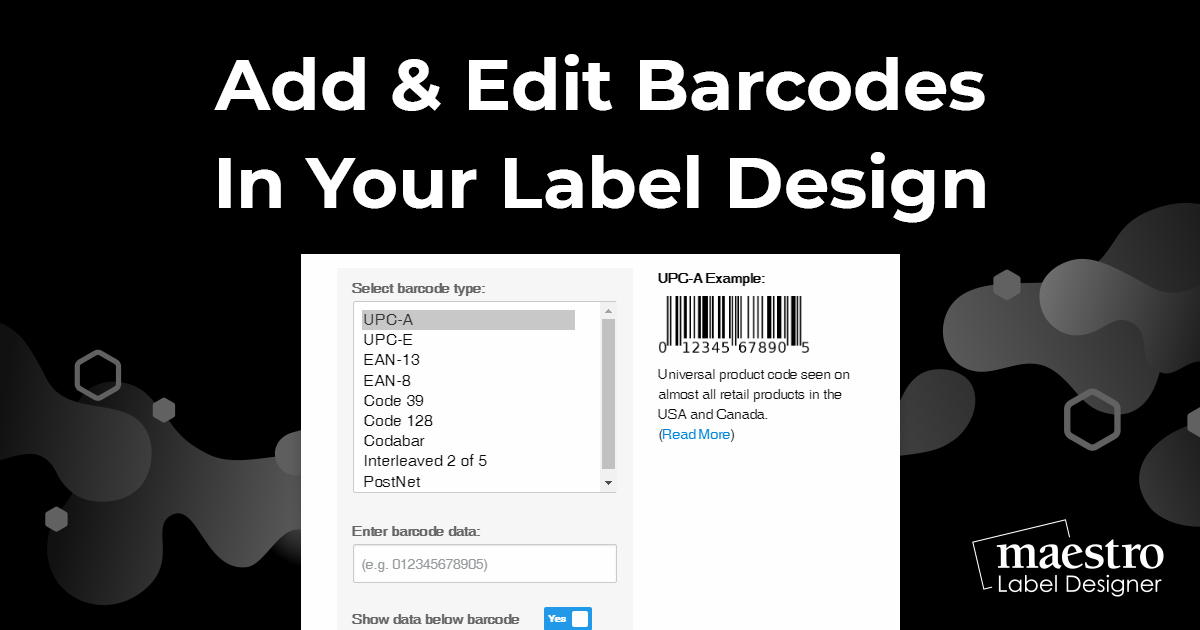
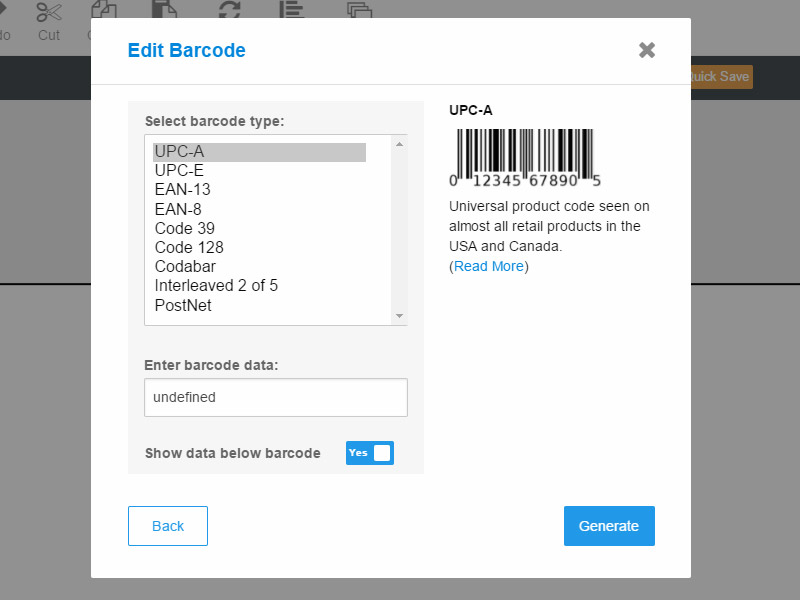
Select your preferred barcode, enter the data, and click "Generate" to place it on your canvas.
-
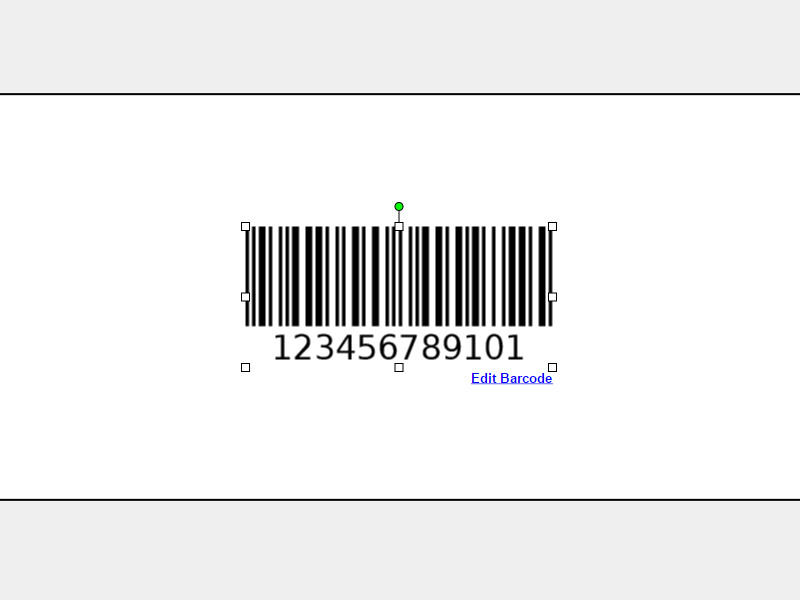
To make any changes, select your barcode. Click "Edit Barcode" in the bottom right-hand corner to edit the barcode type, data, or appearance. You can also edit the opacity of your barcode in the "Object Properties" panel to the left of the screen.
Multiple Barcodes
Launch Maestro Label Designer and sign in.
-
With your label design open, hover over "Tools" in the blue navigation bar and select "Barcode Generator."
-
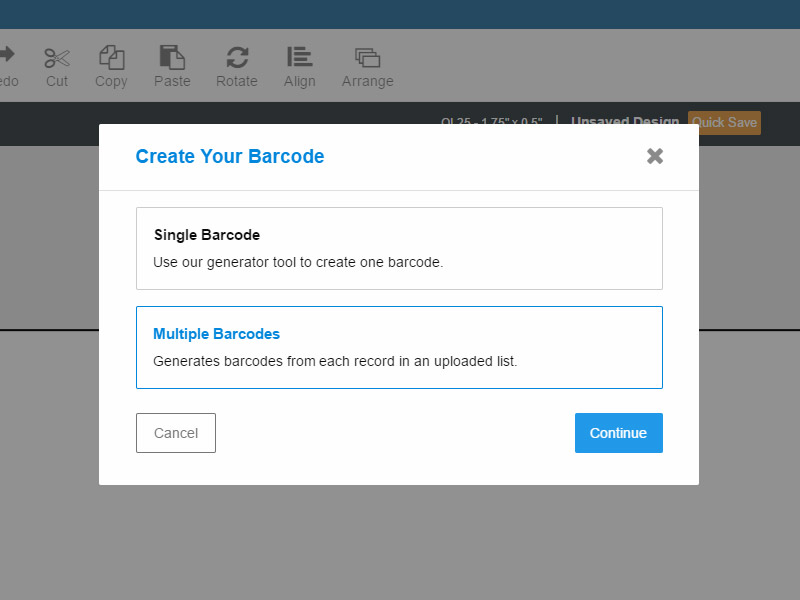
Click "Multiple Barcodes," then "Continue." This will initiate the mail merge process.
-
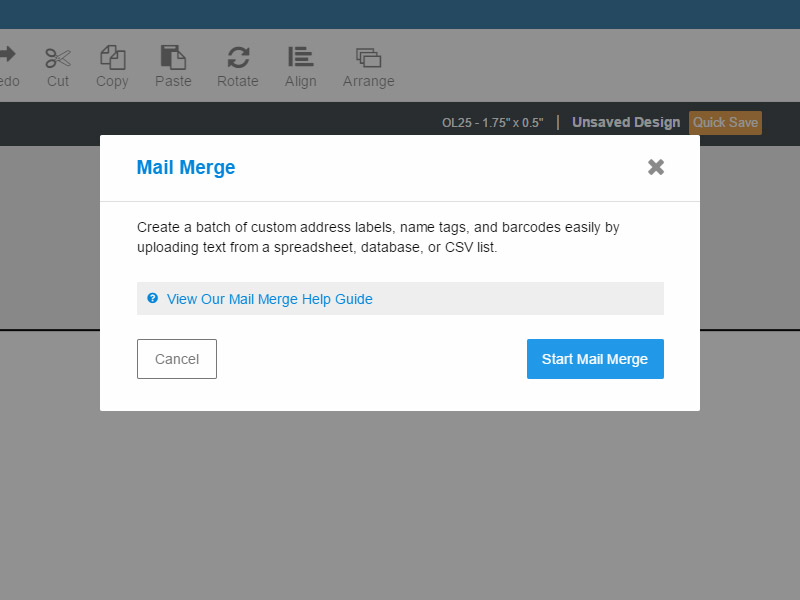
Click "Start Mail Merge."
-
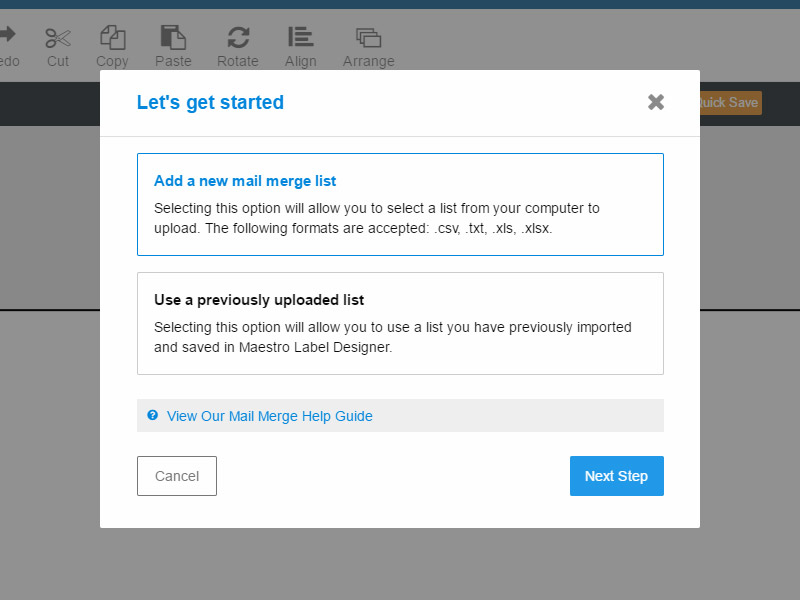
You will be prompted to add a new datalist or use an existing list. If you have a list in Maestro Label Designer already, click "Use a previously uploaded list" and then "Next Step." If you don't have an existing list uploaded, click "Add a new mail merge list." For help creating a list, read our data list tutorial.
-
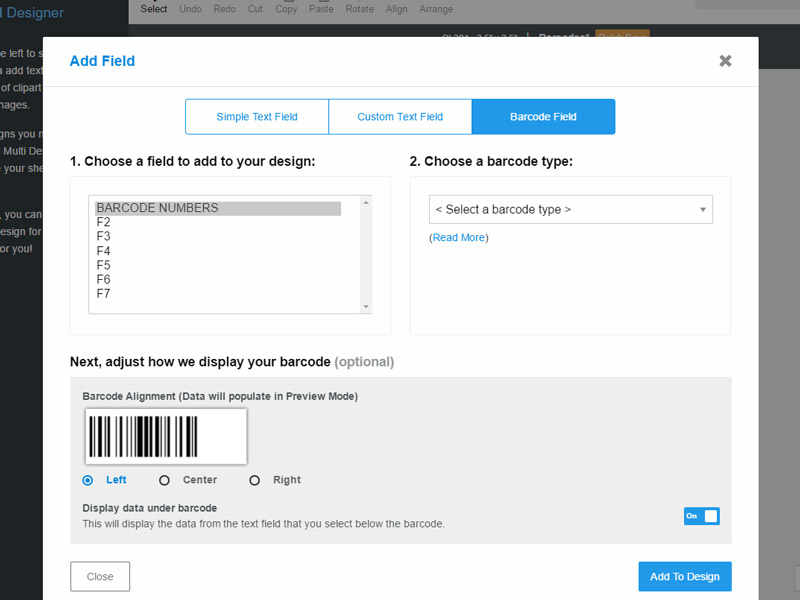
Once your data list is uploaded, highlight the column title where your barcode data is located and select the appropriate type of barcode. Click "Add To Design" to add your barcodes to your canvas.
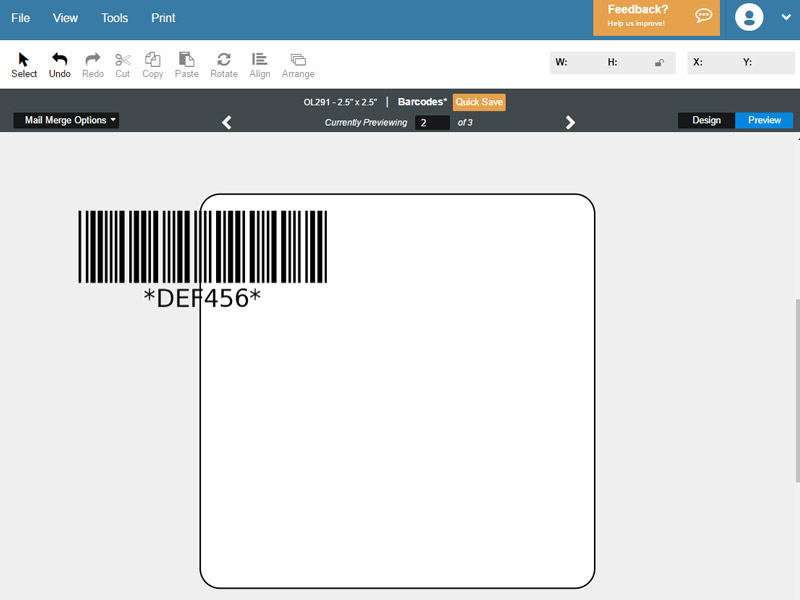
Click "Preview" in the top gray bar and use the white arrows to view each barcode label.
-
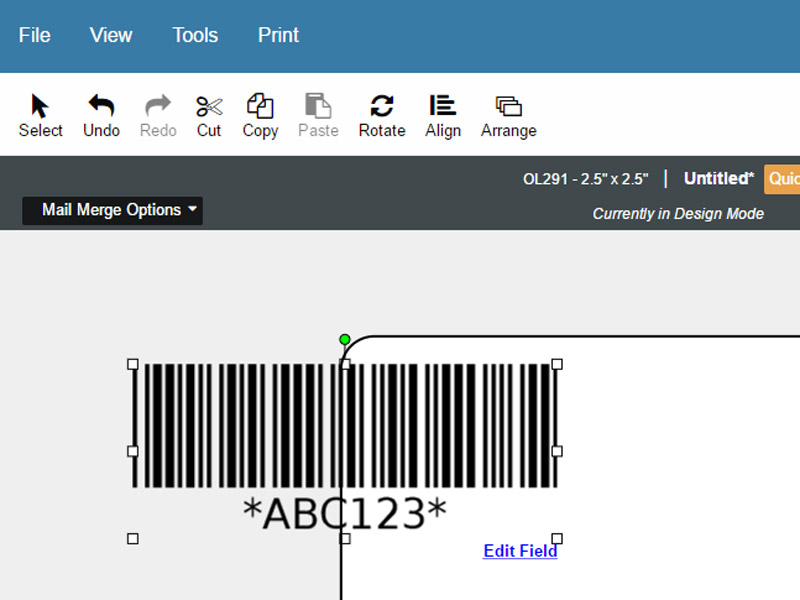
To make any changes, select your placeholder barcode. To edit the type of barcode, which information from your data list is being used, or the appearance of your barcodes, click "Edit Field" in the bottom right-hand corner. To replace your barcode data list with a new list, hover over "Mail Merge Options" in the top gray bar and select "Switch Lists." To edit the barcode's opacity, use the "Object Properties" panel to the left of the screen.
For more barcoding help, please call our customer service team at 0203 051 9664.