How To Match Colours In Your Label Design
Make sure the colours in your design match. Here's how to use the eyedropper/pipette tool to copy a colour from your canvas and apply it to text, shapes, and more.
What is the eyedropper tool?
The eyedropper tool acts as a colour detector, allowing you to copy colours from your design and apply them to different elements in your design. You can use this tool to make your border the same colour as something in an uploaded photo, for example.
Note: The eyedropper tool only works on elements open on your canvas. It will not select colours from the toolbars in Maestro Label Designer or anything outside the program.
Colour-Matching Shapes & Text
Launch Maestro Label Designer and sign in.
-
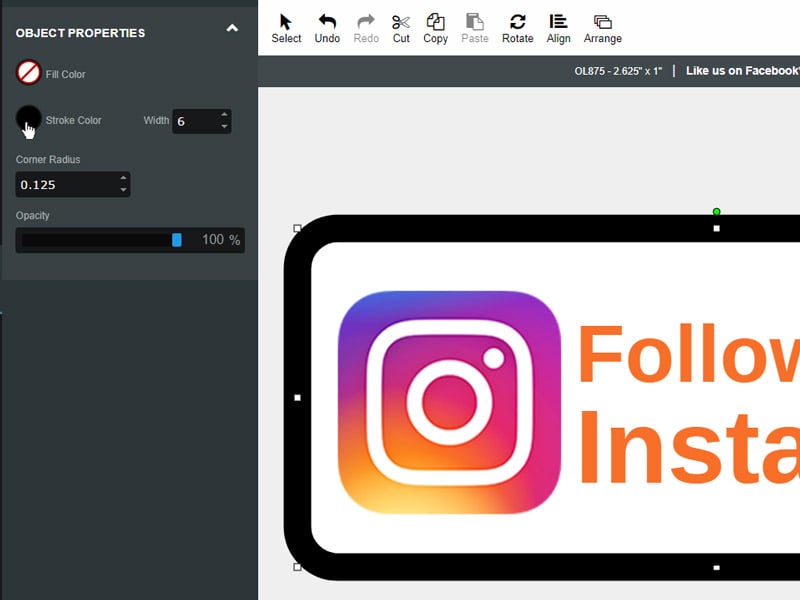
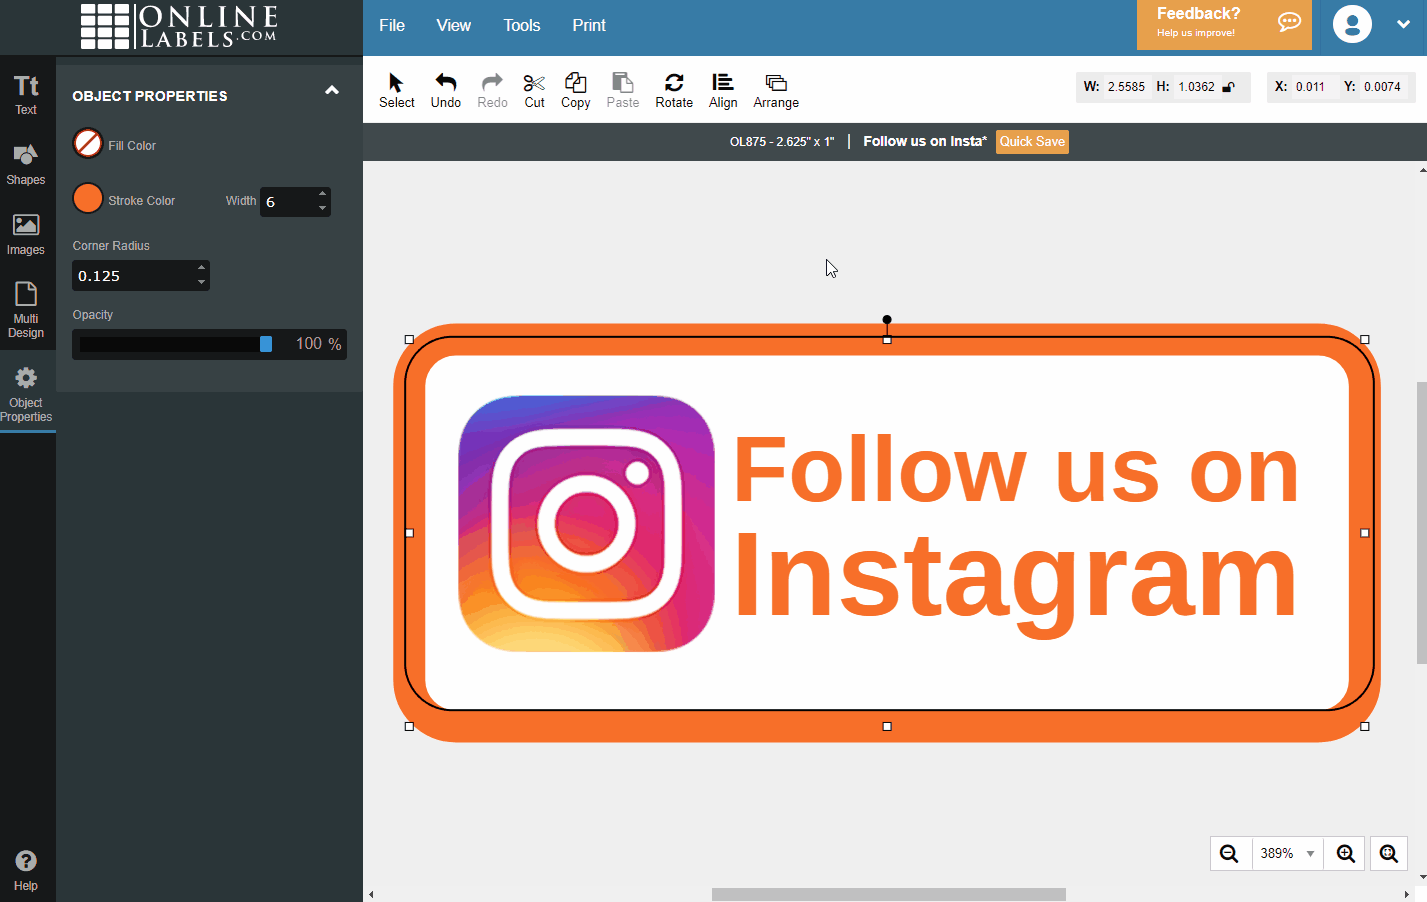
With your label design open, click on the object that's colour you wish to change.
-
In the "Object Properties" panel that opens, click the coloured circle for the property you would like to change. This works for font, stroke, and fill colours.
-
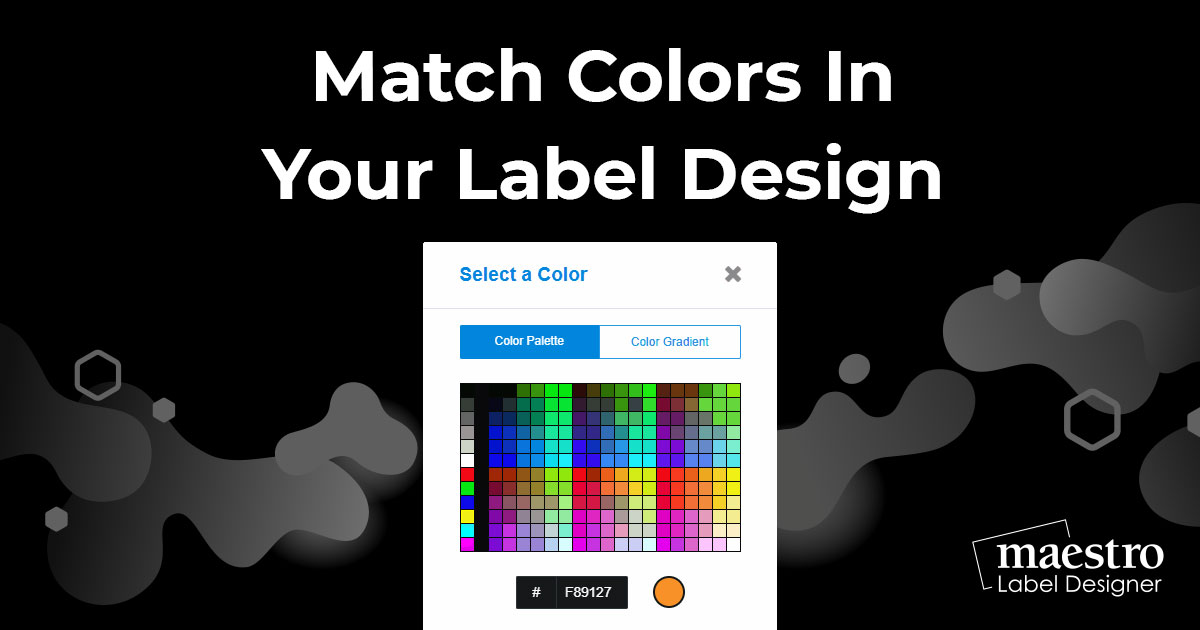
Hover over your desired colour, the tool will automatically detect the value and display a sample. Click to select it.
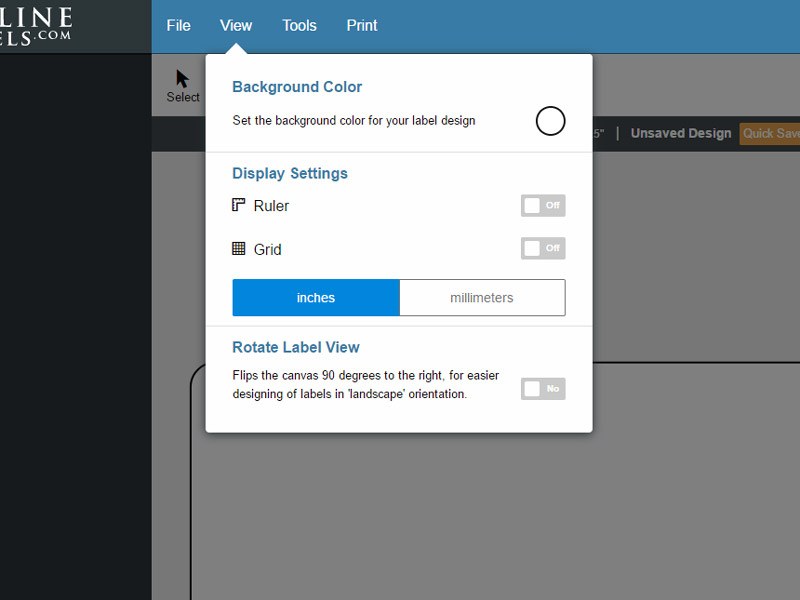
Colour-Matching The Background
Launch Maestro Label Designer and sign in.
-
With your label template open, hover over "View" in the blue navigation bar and click the circle beside "Background Colour."
-
Hover over your desired colour, the tool will automatically detect the value and display a sample. Click to select it. The colour will automatically be applied and the colour selection tool will close.
For personalized support selecting and applying a colour using the eyedropper tool, please call our customer service team at 0203 051 9664.