How To Use Folders for Uploaded Images

If you're uploading an abundance of images to Maestro Label Designer, we want to help you stay organized. Use the instructions below to create, edit, organize, and delete folders.
How to Create, Edit, & Delete Folders
Launch Maestro Label Designer and sign in.
-
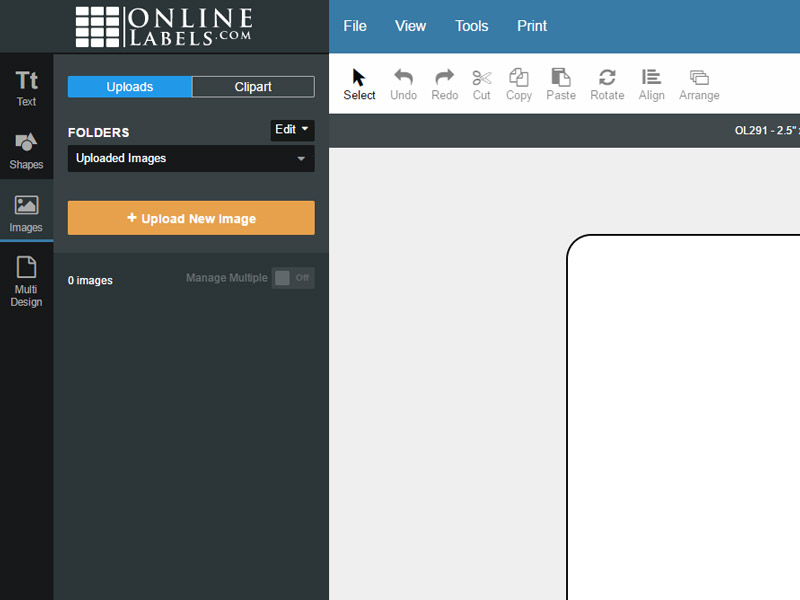
With your label open, click "Images" in the vertical toolbar to the left.

-
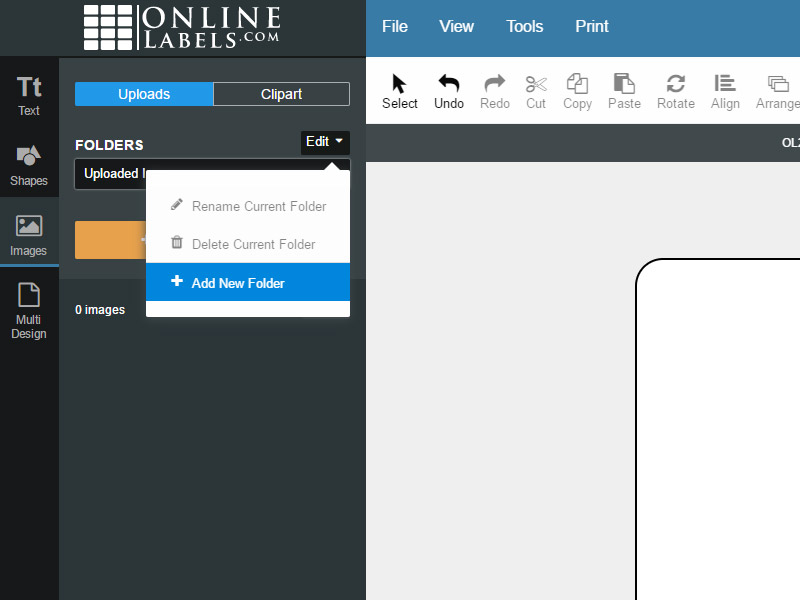
Hover over the "Edit" button above the "Folders" dropdown. Select your preferred option.
Note: Deleting a folder also deletes the images within that folder.

How to Organize Images Into Folders
Launch Maestro Label Designer and sign in.
-
With your label open, click "Images" in the vertical toolbar to the left.
-
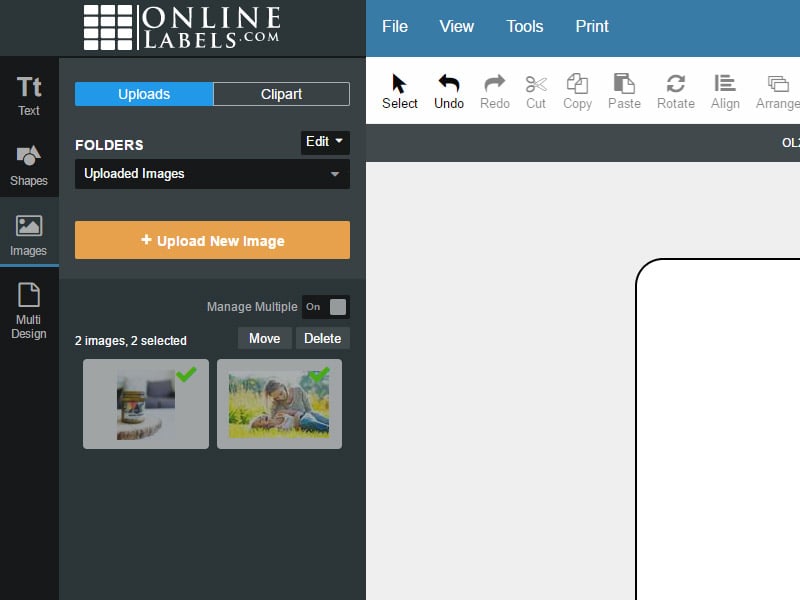
Move one image at a time by hovering over your desired file and selecting "Move" from the "Edit" dropdown or move a group of images by clicking the "Manage Multiple" toggle on the right side of the sidebar.

-
-
Select the new destination folder and hit "Continue."
Note: Your image(s) will move from the "Uploaded Images" folder to the selected destination.
The above steps will also work for deleting images.
If you have deleted an image or folder in error, or if you have additional questions regarding the folder system for images, please call our customer service team at 0203 051 9664.


