Printer Alignment Guide
Want the perfect print every time? This guide is designed to help you eliminate misaligned prints. Use the tools below to get better aligned labels without the headache.
Design with Printer Movement in Mind
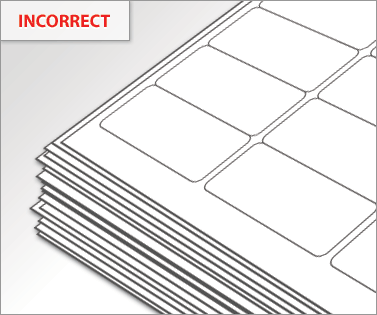
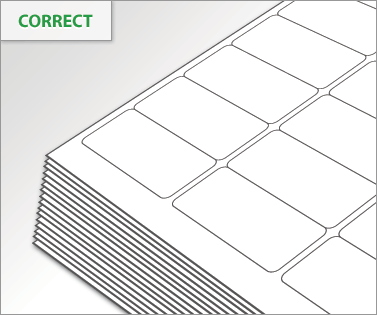
The first thing to note about most home printers is that the sheets move during printing. These shifts inside the printer can cause your designs to print over the edge of your labels. To work around this issue, stack your sheets neatly and evenly in the printer tray. You should also try to keep text and images at least 3.175mm away from the edge of your label.
Give your Designs Bleed
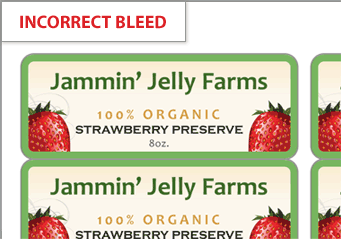
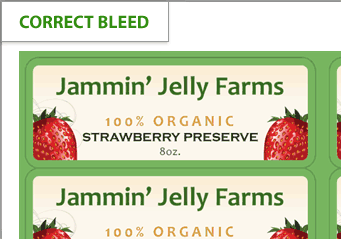
If you're a frequent labeler, chances are you've heard the term "bleed" tossed around. What exactly is it? Adding a bleed to your art means that you are adding a border to your design that extends over the edge of your label. This is another way to adjust for paper-shifting – with a bleed, you're less likely to be left with unprinted edges when/if the paper shifts. This is primarily important if you have a border, background colour, or image that goes to the edge of your label. If your label allows for it, add at least an extra 3.175mm beyond the border.
Account for Non-Printable Margins
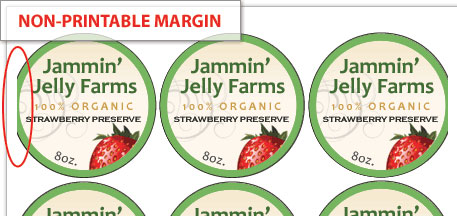
Most common household printers cannot print all the way to the edge of a sheet. To find out what your non-printable margins are, use our non-printable margin tool. You'll be able to see your printer's non-printable margin and adjust your label design accordingly. While determining your printer's capabilities, you should also make sure you're printing at 100% zoom and that page scaling turned off (we go into more detail about this in the next section).
Set Up Proper Page Scaling
Some PDF viewers may scale your design to fit a normal piece of paper, not your label. To avoid this, find your program below and follow the specific instructions.
If you're using Maestro Label Designer, you can choose to download your design and open it in a PDF viewer or view it in your browser. We recommend hitting Download & Print, then using Adobe Reader to view it.
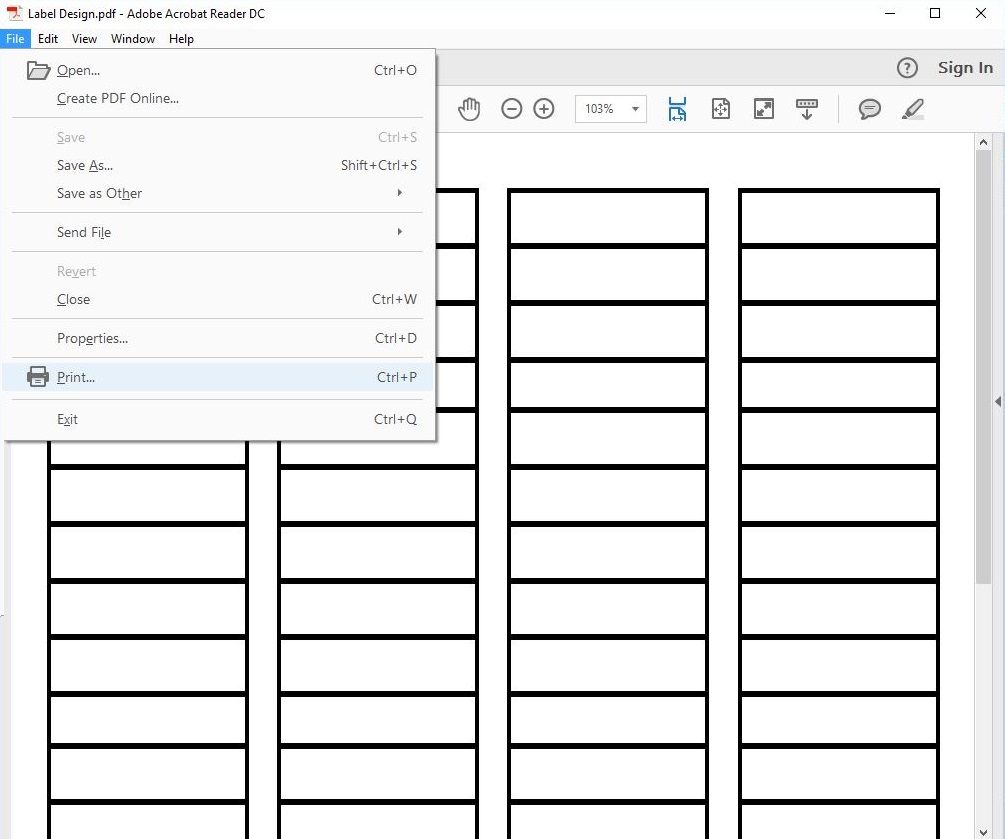
Adobe, Recommended
- Click File from the top menu. Choose Print.
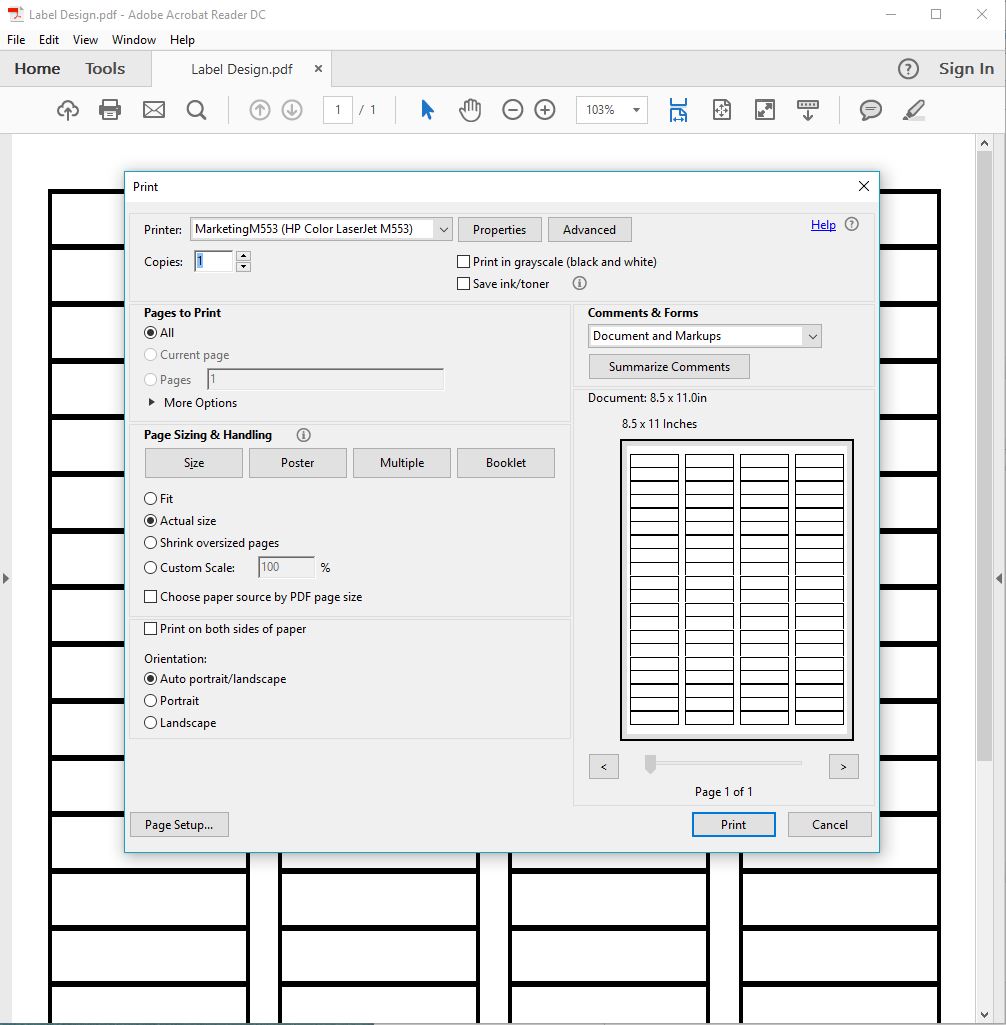
- Make sure Actual Size or Custom Scale: 100% is selected under Page Sizing & Handling. You may also see Auto-Rotate and Center. Make sure it is unchecked.
- Your changes will be applied once you hit Print.
Firefox
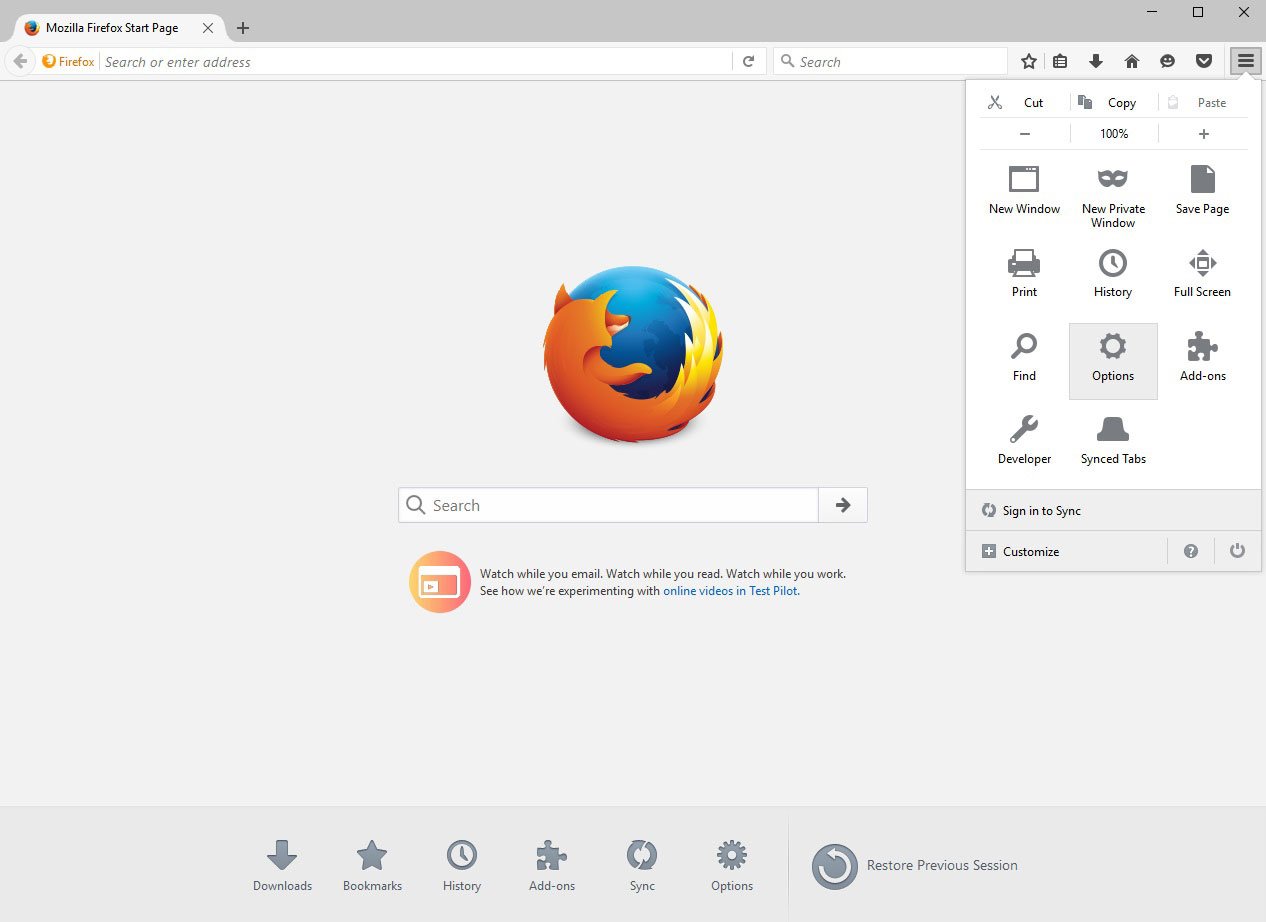
- Open the menu in the top right corner. Choose Options.
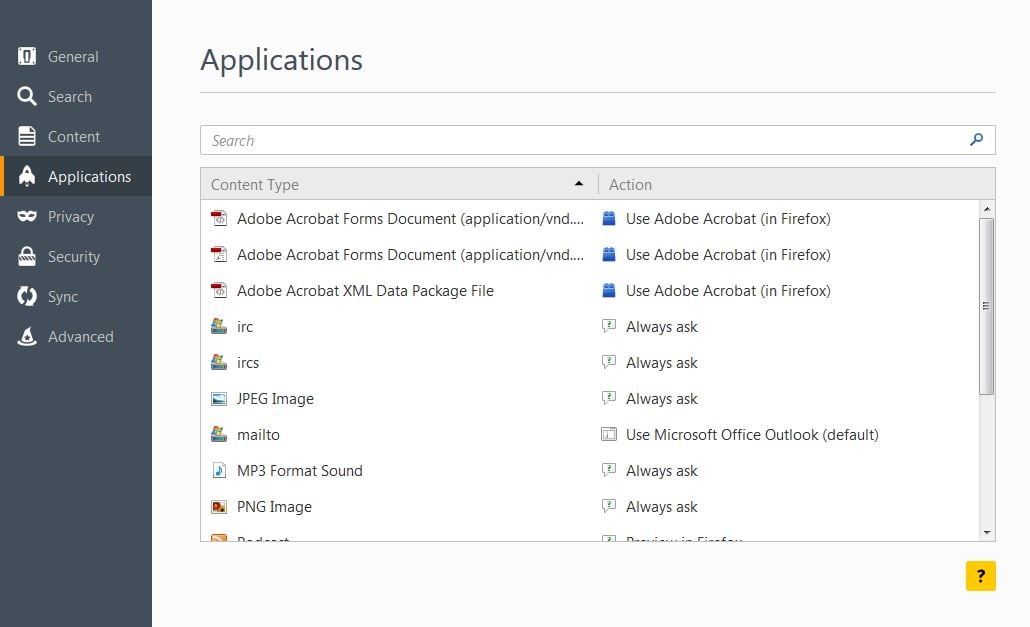
- Open Applications.
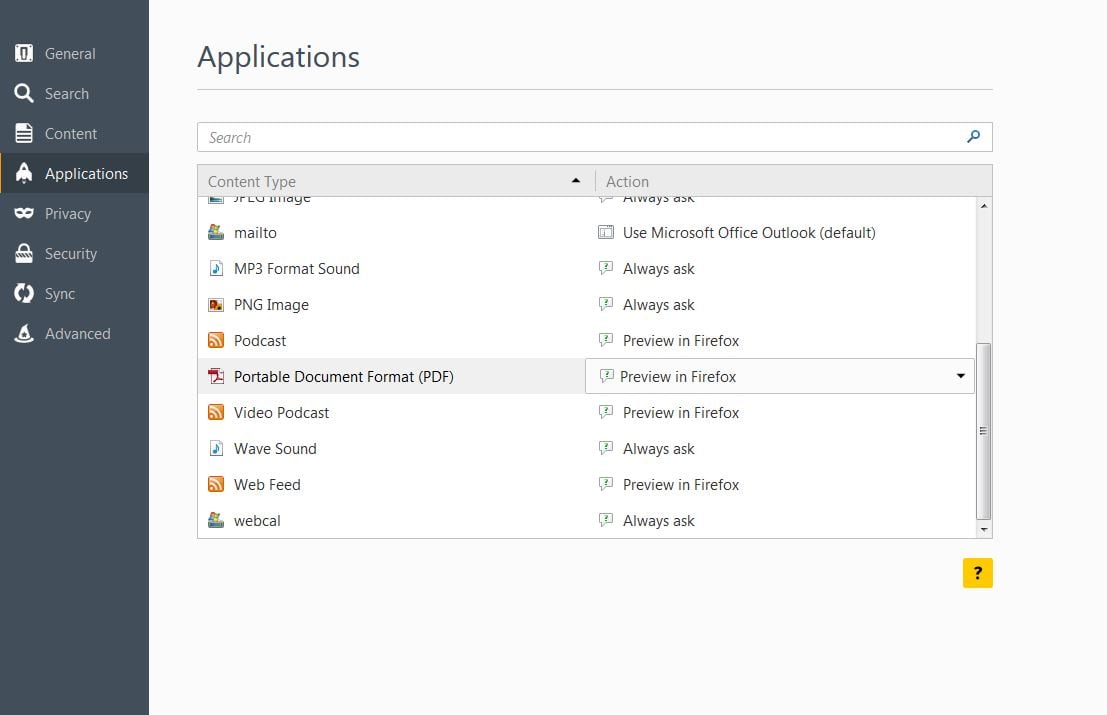
- Select Portable Document Format (PDF).
- In the drop-down, select the PDF viewer you wish to use.
- Your changes will be made when you close the dialogue box.

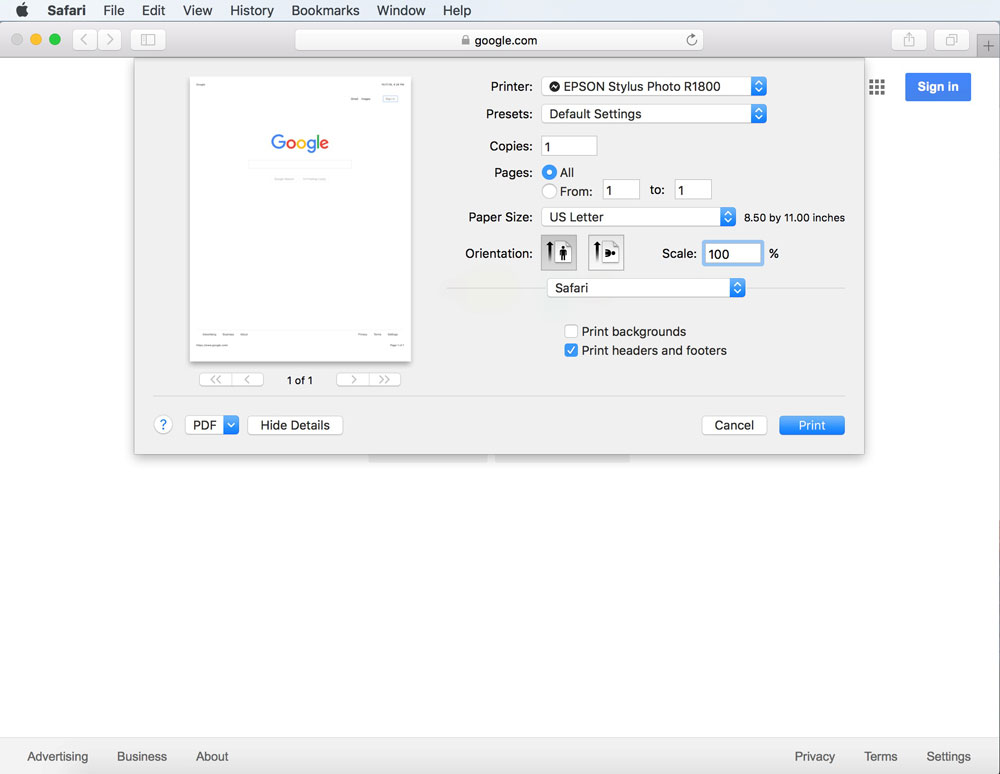
Safari
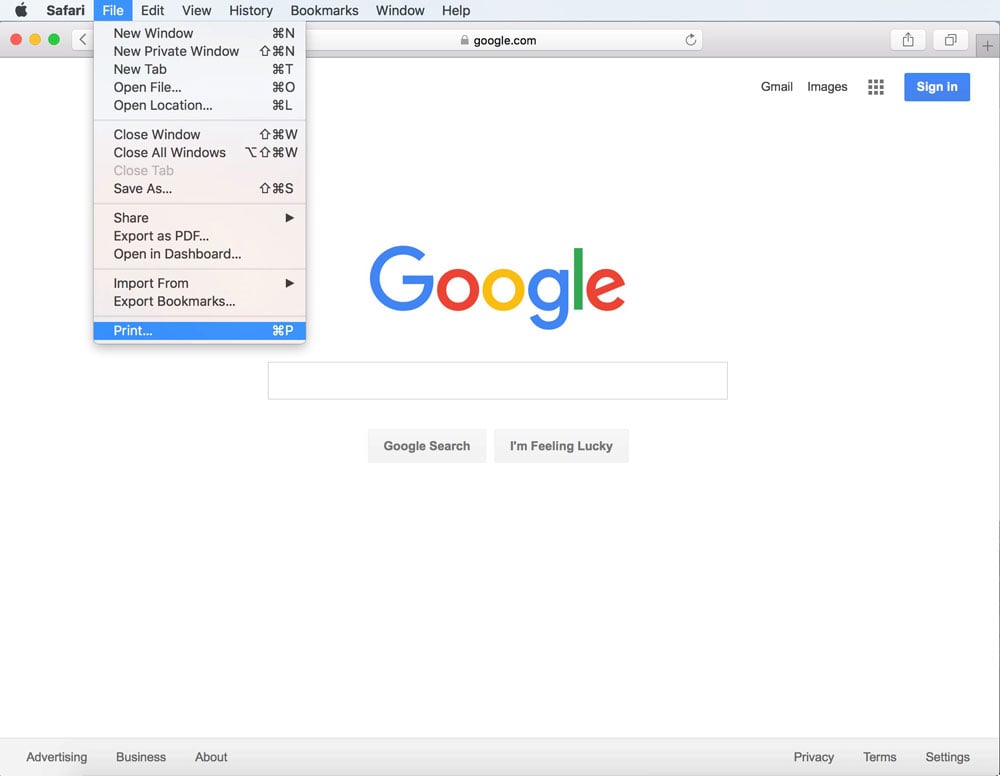
- Click File, Print.
- Set Scale to 100%.
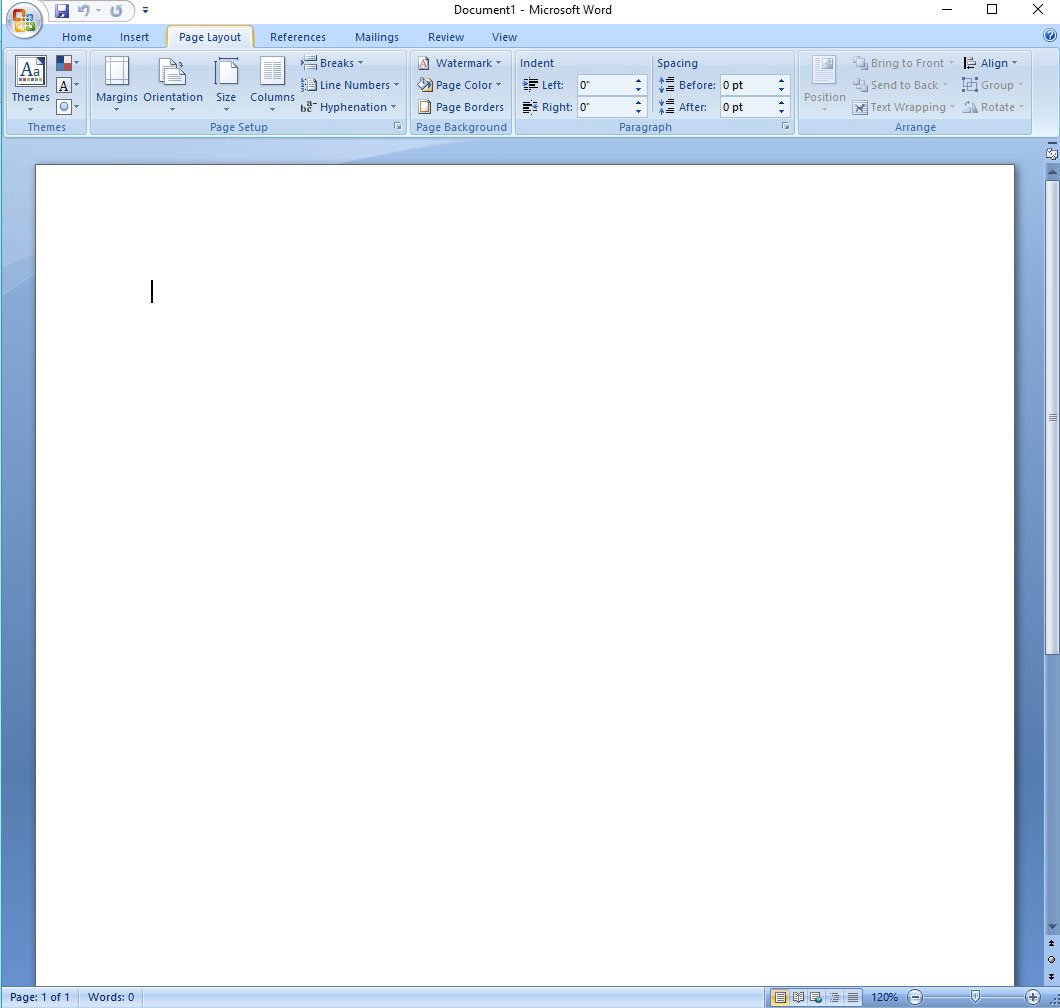
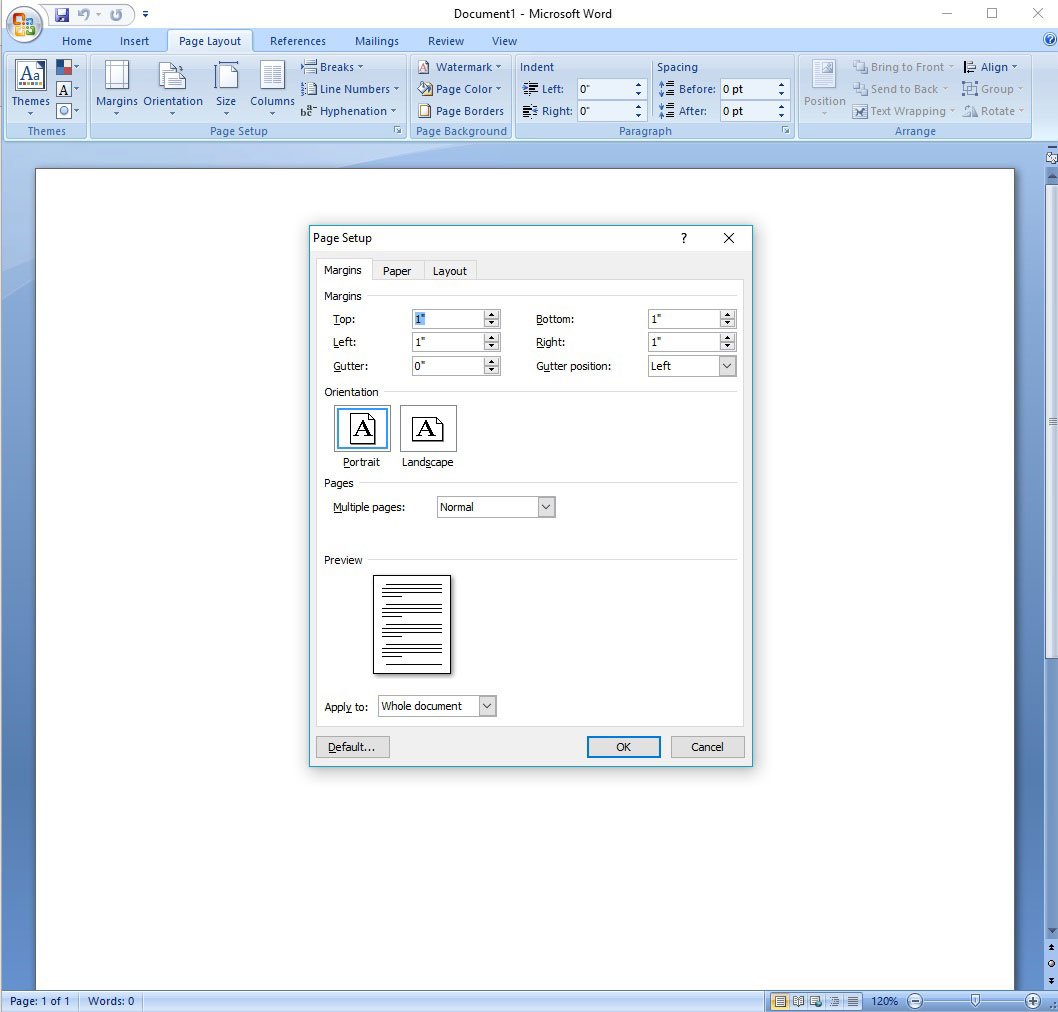
Microsoft Word
- Select the Page Layout tab in the top menu.
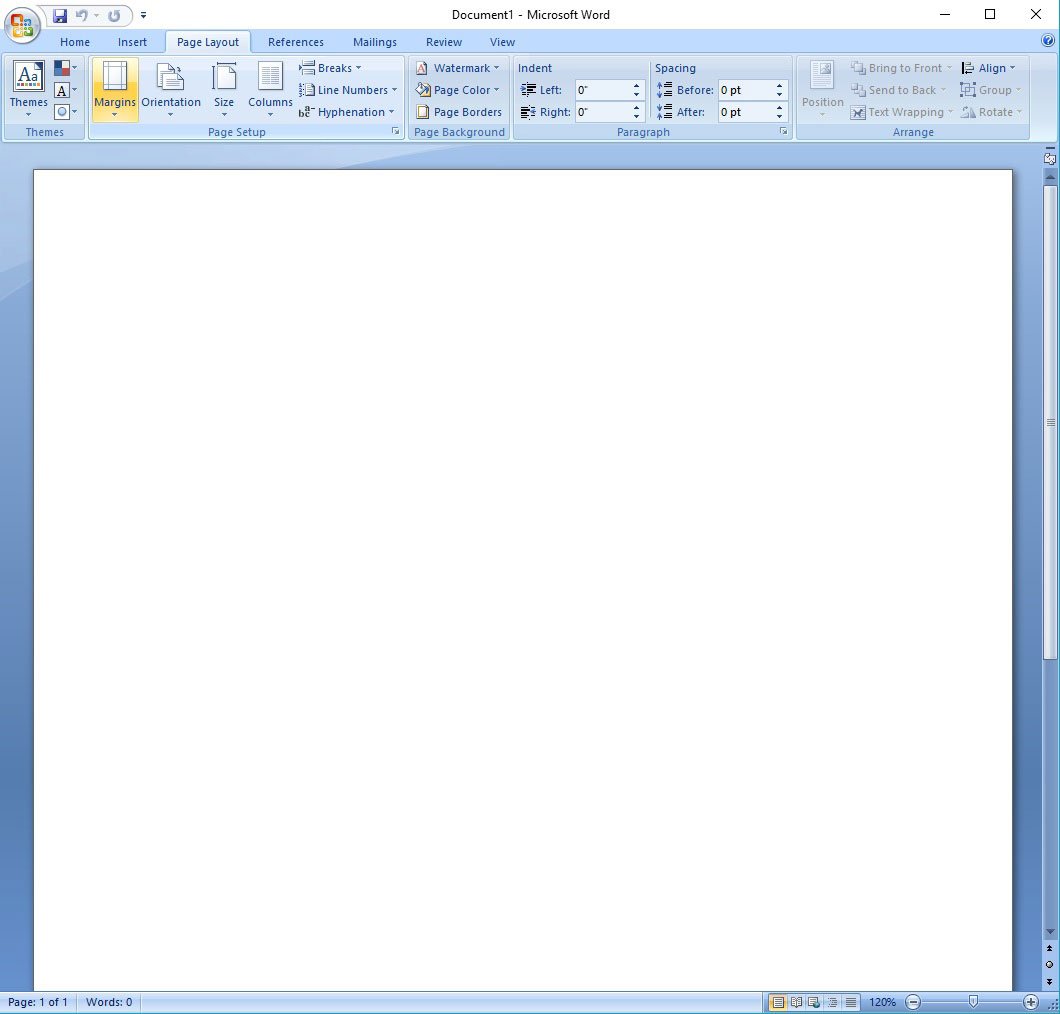
- Click on the Margins box.
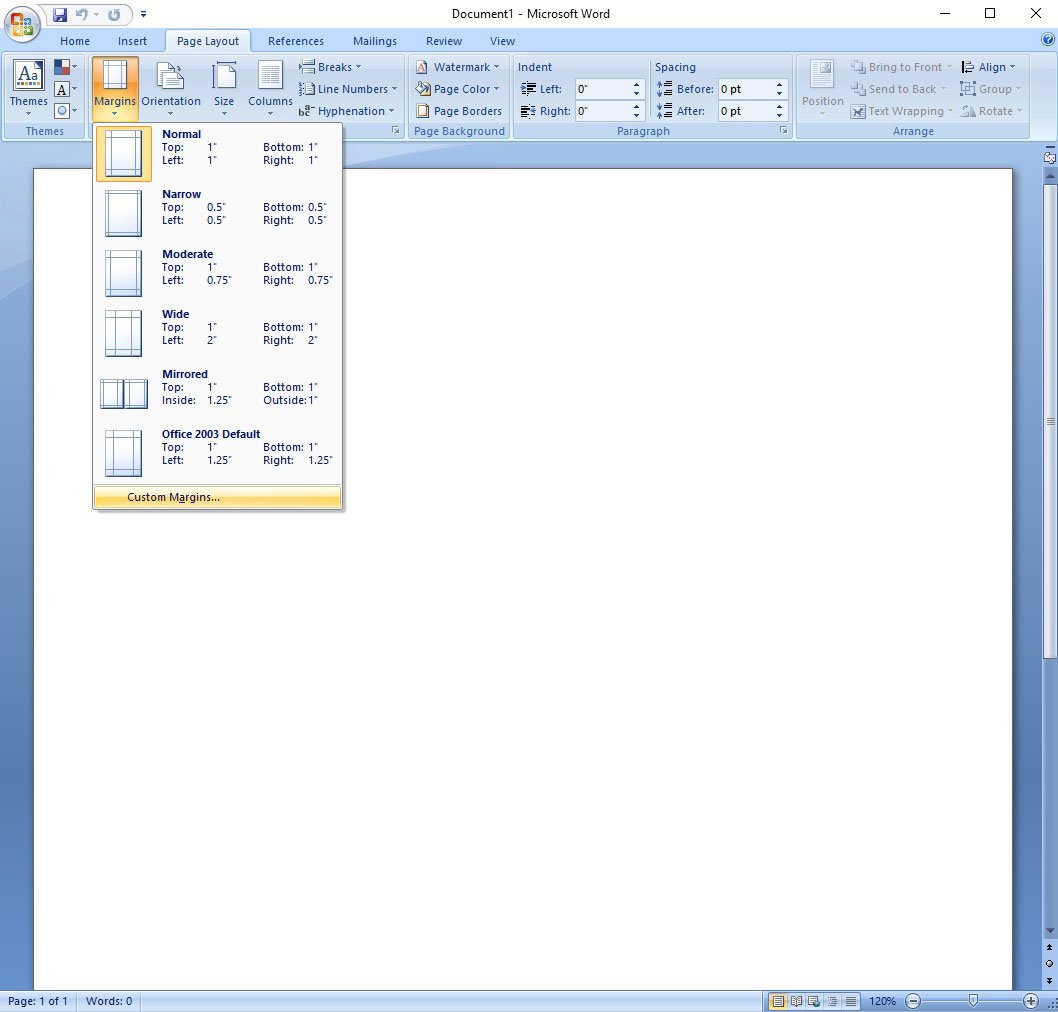
- Scroll to the bottom of the list and choose Custom Margins.
- Change these settings based on what you need.
- Click OK.
Every printer is different, even among the exact same model. If your problem persists, try using a different printer if you have access to one. Experimenting will help you get a feel for non-printable margins and paper-shifting. If you still need help getting your printer aligned, creating your label in Maestro Label Designer may help. Need additional help? Call customer service at 0203 051 9664.