7 Easy Steps to Create Name Tags For Your Next Event

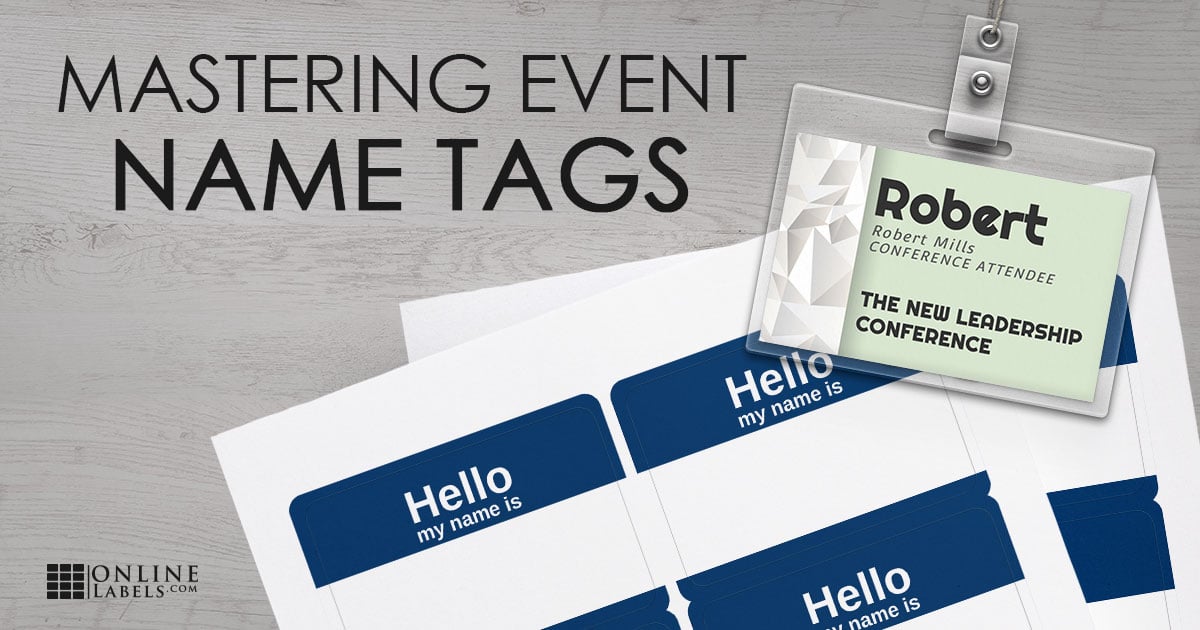
Impress guests from the get-go with professional name tags. Name tag labels are typically adhesive labels or stickers that are used for a short period of time, typically only a few hours. Find out how you can use them for your business or organisation.
Name tag label uses
- Weddings
- Reunions
- Meet-ups and networking events
- Baby showers
- Volunteer events
- School events, PTA meetings, and meet the teacher nights
Ready to put them to use? Learn everything there is to know, including which type is right for you, how to design them for parties and events, ways to fill them using mail merge, and the best ways to display them on a registration table.
Check out the following video or read the article below for tips and tricks so everyone can become an all-star event planner.
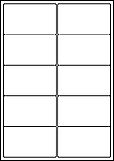
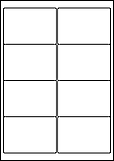
1. Select a name tag shape
Name tags are most often rectangular, though it's your event, so feel free to get creative. We offer tons of fun shapes like hearts, hexagons, scallops, and more.
Keep in mind the standard sizes for both products are between 57.3mm and 67.7mm tall, 99.1mm wide. Any smaller and the resulting text may be difficult to read; too much larger and the tags themselves become overwhelming.
Adhesive name tag products
2. Pick a name tag material
We recommend our permanent labels for adhesive name tags. While it may seem counter-intuitive since you want name tags to remove cleanly from clothing, anything with too little tack won't want to stay in place throughout your event.
Our standard matt white material is perfect for temporary use with clothing. It'll stay on most fabrics until the event completes and remove without damage.
3. Design your name tags

When it comes to designing your name tags, there are a few guiding principles, but the rest is up to you!
Orientation
Tags can be used horizontally or vertically. Horizontal is preferable as it gives more space to write first and last names side-by-side, but vertical can look more streamlined and clean.
Theme
Incorporate the theme of your event into the name tags! Use the same colours, symbols, and/or graphics to tie everything together. If your conference doesn't have it very structured theme, pull inspiration from the city or venue.
You can also browse pre-designed name tag templates.
Font type and size
Name tags are meant to be read, so it's best to opt for something easily readable. Serif and sans serif fonts are ideal over script and handwritten ones for that reason.
Larger fonts are also preferred and sometimes paired with all caps and/or bold formatting. A good rule of thumb, attendee names should be a minimum of 20 point font and be the most prominent part of the badge.
Be sure your design works with names of all sizes! Some guests have naturally longer names that will need to fit properly on the tag.
Colour choices
If you're printing the names on your badges, be sure to avoid low-contrast colours like yellow on white.
If participants will be hand-writing their names, you may want to incorporate an opaque section in your design. If the background is too strong, you won't be able to see the names clearly enough.
You may also want to use colours to differentiate attendees from staff, vendors, exhibitors, speakers etc. Colour-coded name tags can work if your event is mixed-industry as well.
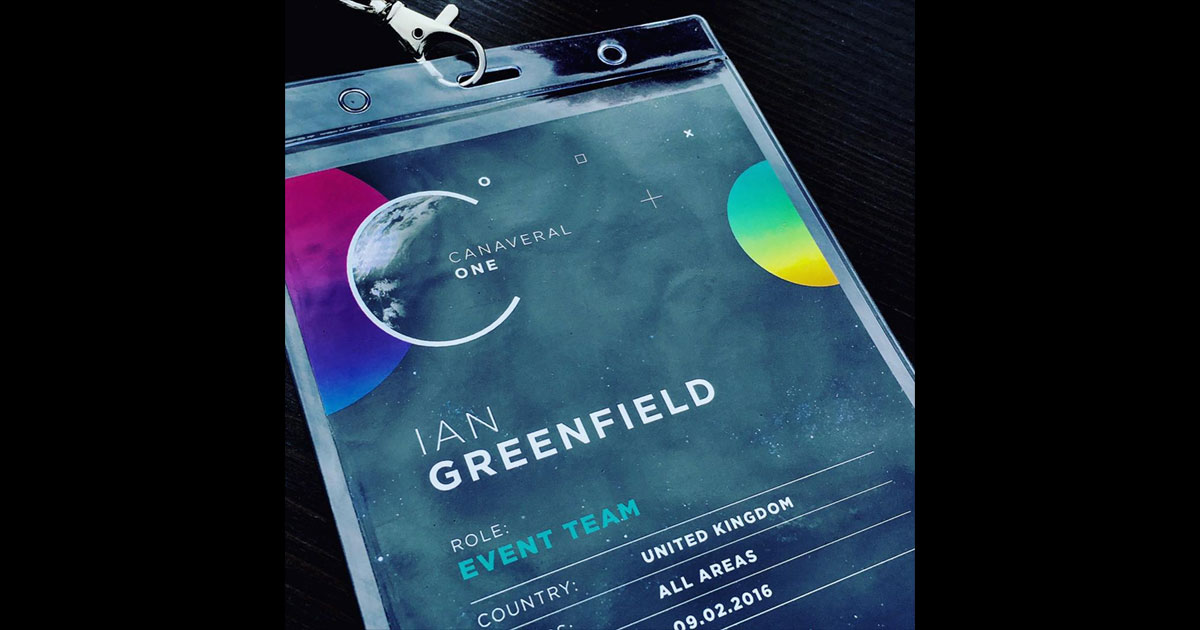
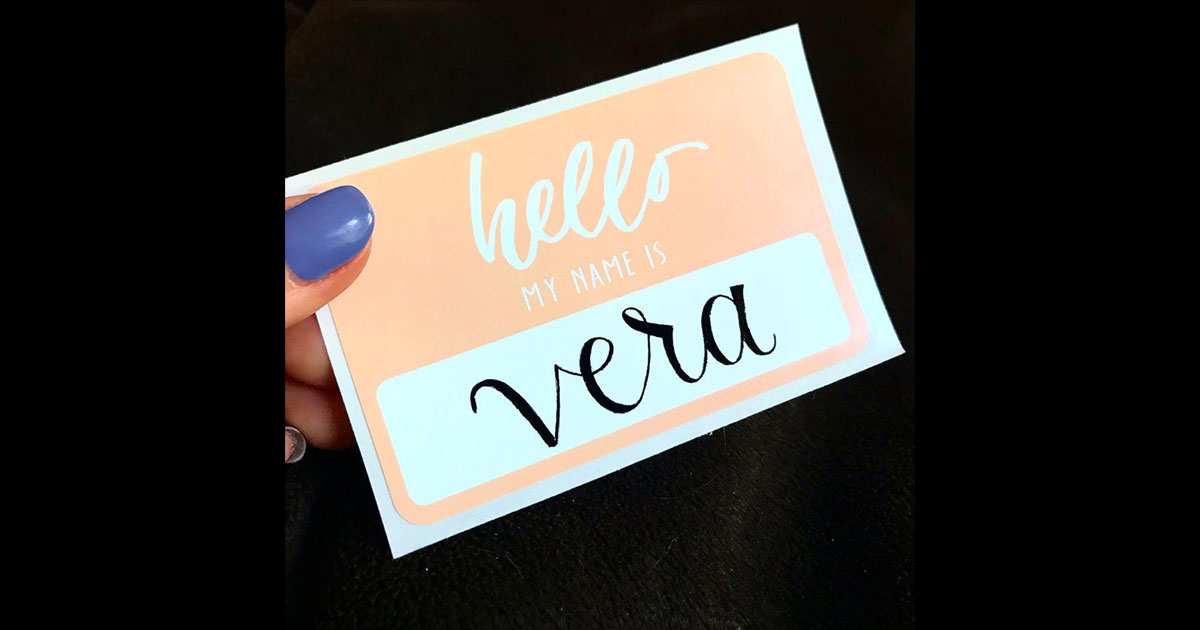
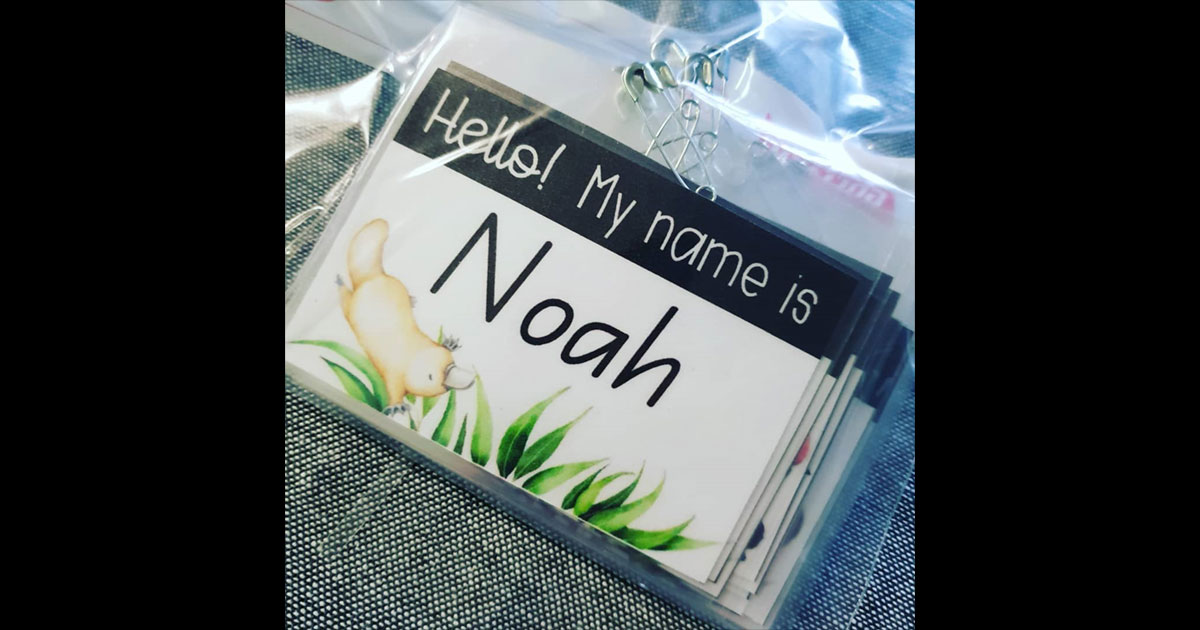
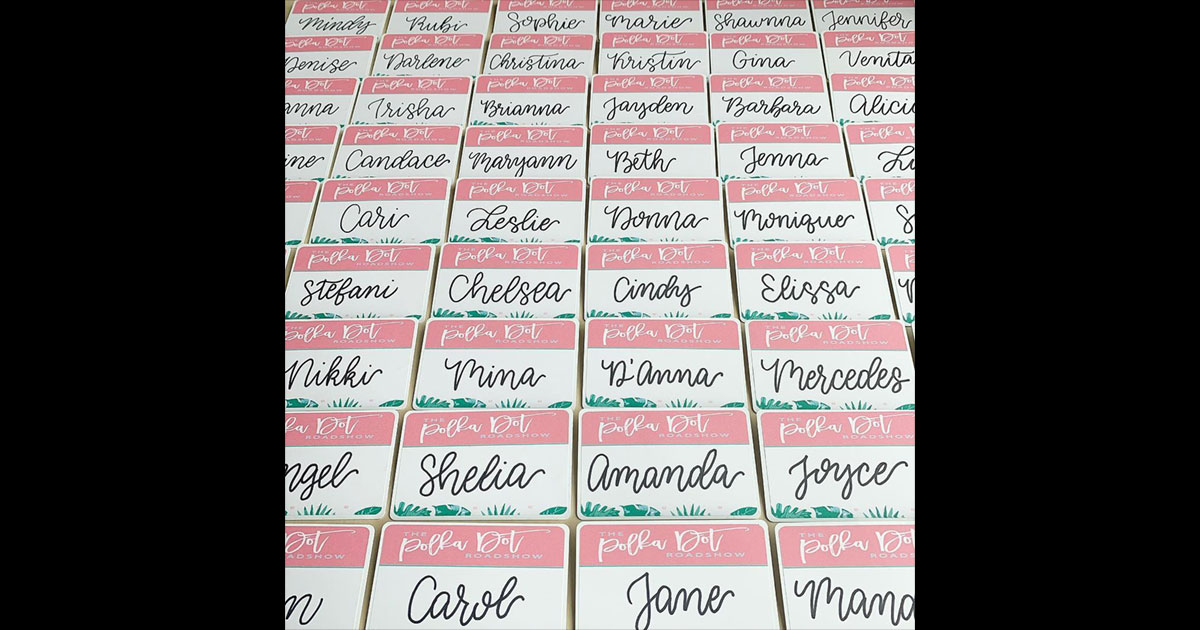
Best name tag sticker and insert designs
There's no shortage of inspiration out there for all kinds of events. Scroll through the gallery below for well-designed name tag stickers and badge inserts.
4. Decide what content to include
Your registration process probably collected a lot of information about your guests, so deciding what information to put on the name tag can be a tough call. Below are some name tag text options for you to consider.
- First and last name
- Conference/event name
- Registration type (attendee, exhibitor, speaker)
- Position/title, company name, or industry
- Sponsor logos
- Event dates or schedule
- Ice breakers
5. Format your name tags
It can be tedious to enter each attendee's name and information on your name tags, not to mention how much it increases your likelihood of printing typos!
To take that stress out of the equation, print the design and let everyone hand-write their name or try using mail merge to auto-fill the names, speeding up the process on your end.
Mail merge is a tool available in most data processing programs, and even some design ones. It pulls information from a list of data then inserts it into your document/design.
If you're designing your name tags in Microsoft Word, read our MS Word mail merge instructions. For best results, though, use the mail merge feature in Maestro Label Designer.
Maestro Label Designer is online design software created exclusively for Online Labels customers. It includes templates for every label size and configuration we offer (from blank templates to fun designs), so you don't have to worry about the hard stuff.
Plus, because it's our software, you'll find tons of tutorials, compatible tools (like mail merge), and award-winning customer service built right in. Learn more.
6. Prepare for last minute sign-ups
There's no getting around the day-of registrants and non-RSVPers, but there are a few steps you can take so they don't knock you off your feet. Choose any or all of the below methods so your event starts off well.
Print blanks
It's incredibly easy to run off a few extra sheets of blanks once you've finished with the names you have. This way, guests still have the branded name tag template even though they'll have handwritten names.
Bring a printer
Some inkjet printers can be small and lightweight. If the space and setup is conducive, do some on-the-spot printing! Maestro Label Designer makes it easy to print one label at a time for occasions just like this. Learn how.
Grab blanks
It's never a bad idea to bring some of your leftover sheets just in case, printed or not. Bring the entire clamshell to keep your labels protected and ensure everyone at least gets a name tag or badge.
7. Set up your registration table
When it comes time to set up for your event, keeping your name tags organised can help things go faster and more smoothly.
The most popular option for adhesive name tag sheets is to have them in alphabetical order behind the check-in counter, managed by a team member. It can speed things up even more to keep them in alphabetical stacks, where A-K is pile one, L-R is pile two, etc.
Use the tips above to become an all-star event planner. Next, consider promotional marketing stickers as event giveaways.
Questions about using our products or design software? Give us a call at 0203 051 9664.