How To Add & Edit Shapes In Your Label Design
Updated
03/31/2025
To add shapes to your label design, complete the following steps. Continue reading for additional instructions on customizing the shapes in your design.
How to Add Shapes
Launch Maestro Label Designer and sign in.
-
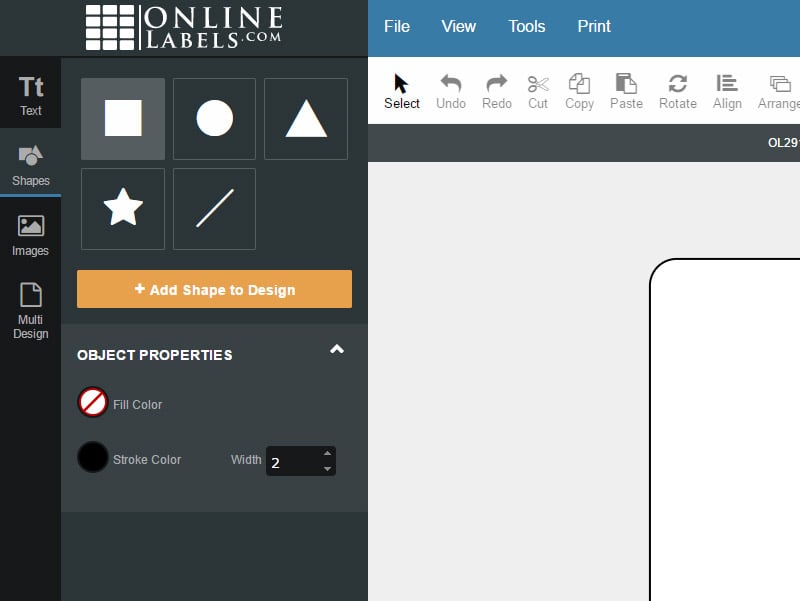
With your label design open, hit "Shapes" in the vertical toolbar to the left of the screen.
-
Click on the shape you would like to add to your design.
-
Hit "+Add Shape to Design" to place it on your canvas or simply begin drawing.
How to Move and Edit Shapes
Launch Maestro Label Designer and sign in.
-
With your label design open, click on the desired shape to select it.
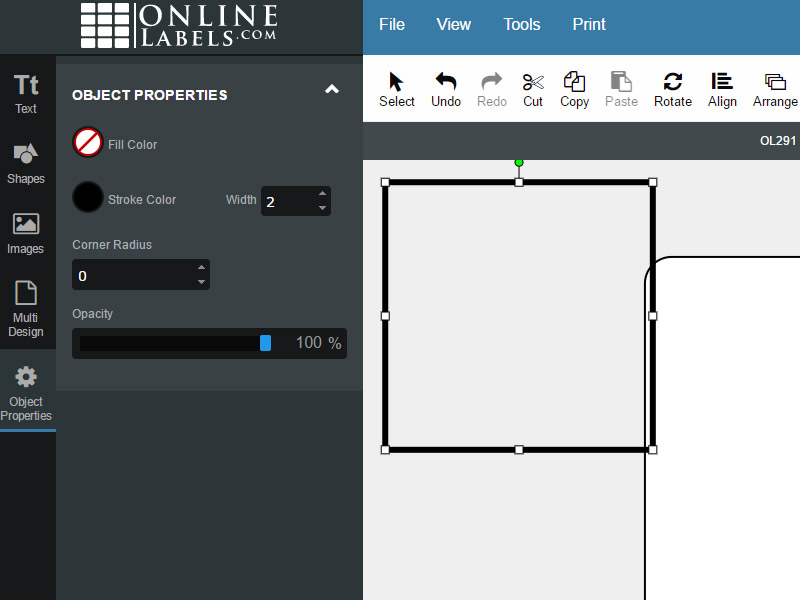
- Use the left panel and top white menu bar to customize your shape.
Our support team is happy to help with any additional questions. Call us at 0203 051 9664.