How To Add A Border To Your Label
Personalise your label with a coloured border. There are two easy ways to add a border to your label design: using the background colour tool or using the shape tool. Choose the option that's best for your label shape and design.
We strongly recommend using thicker borders in your design to reduce the visual effect of any shifting that occurs naturally during the printing process.
Using The Background Colour Tool
Launch Maestro Label Designer and sign in.
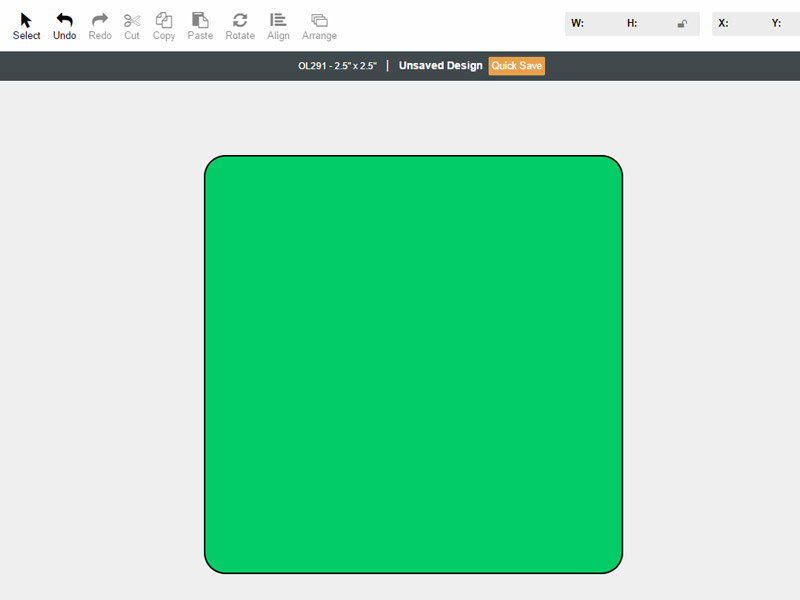
Open a new or existing label template.
-
Change the background colour (in the View menu) to your desired border colour. Find detailed instructions.
Note: While you won't see your background colour extended beyond the border of your label on-screen, it will during printing. Learn more about bleeds in Maestro Label Designer.
-
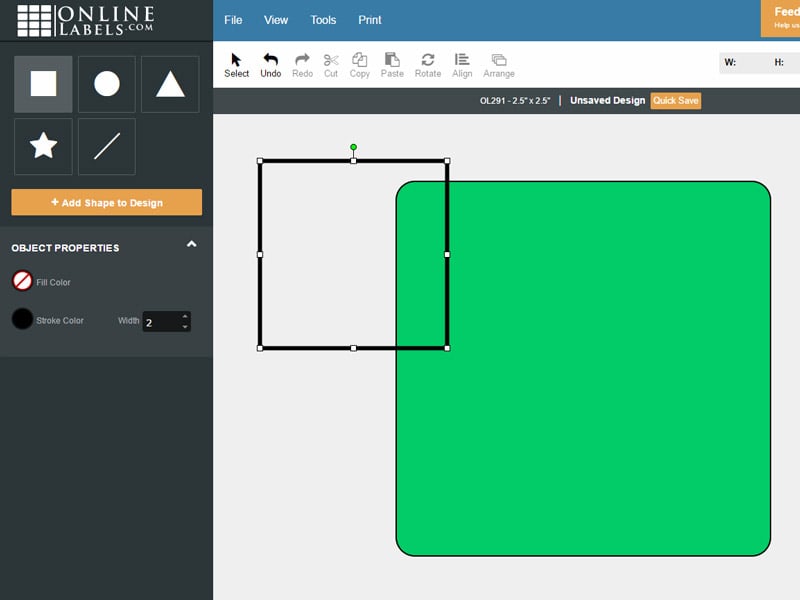
Using the "Shapes" menu in the vertical toolbar to the left of your screen, select the same shape as your label and add it to your canvas.
-
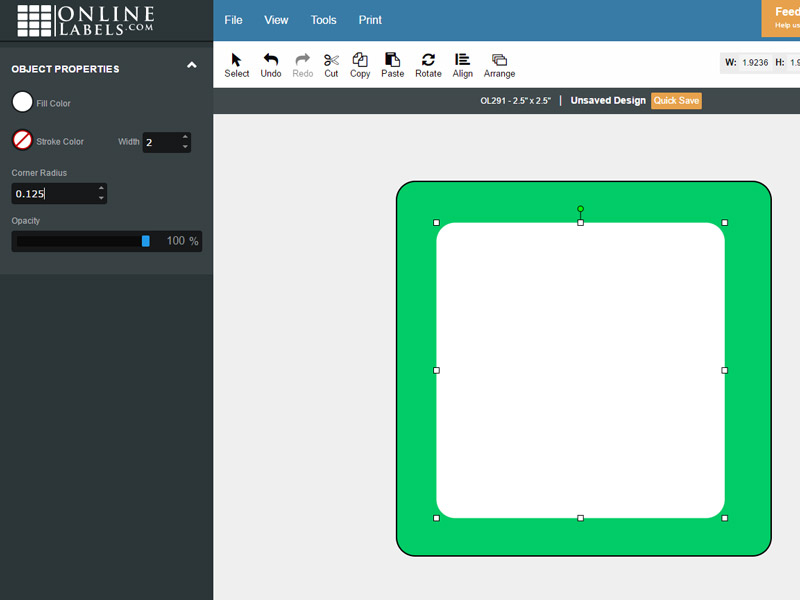
Use the "Align" feature in the white menu bar to center the shape on your label, then change the size of your shape so that it fits comfortably inside the label outline.
-
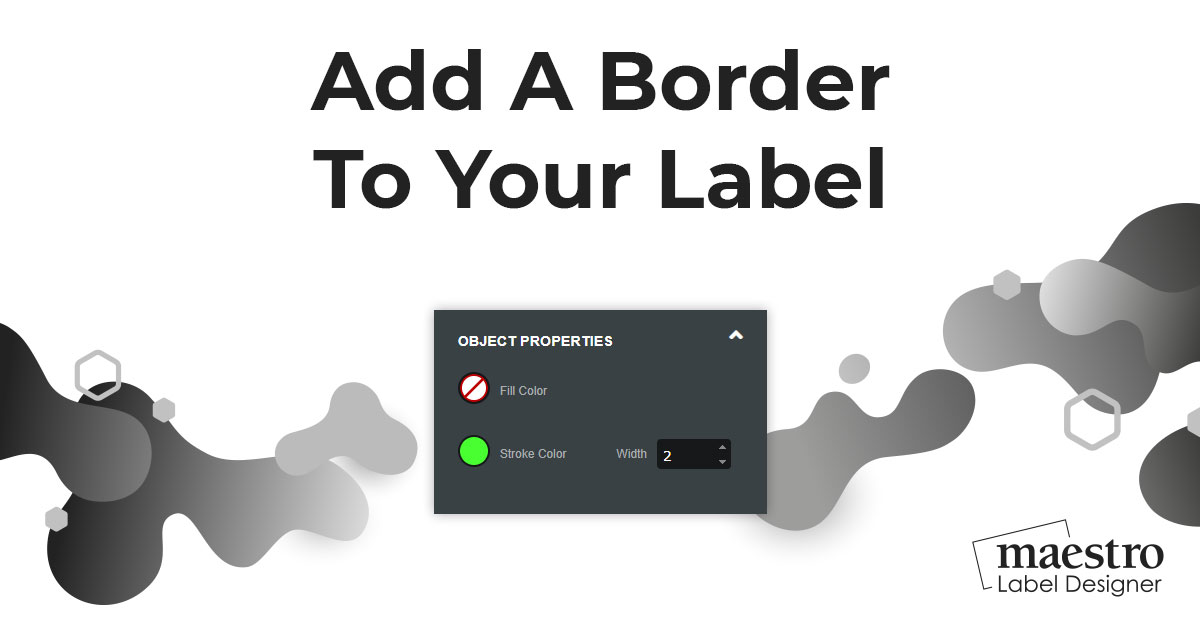
Adjust the "Fill Colour" to match your desired interior colour, edit the "Stroke Colour" as needed, and increase the "Corner Radius" value if your shape has rounded corners.
Using a Shape Outline
Launch Maestro Label Designer and sign in.
Open a new or existing label template.
-
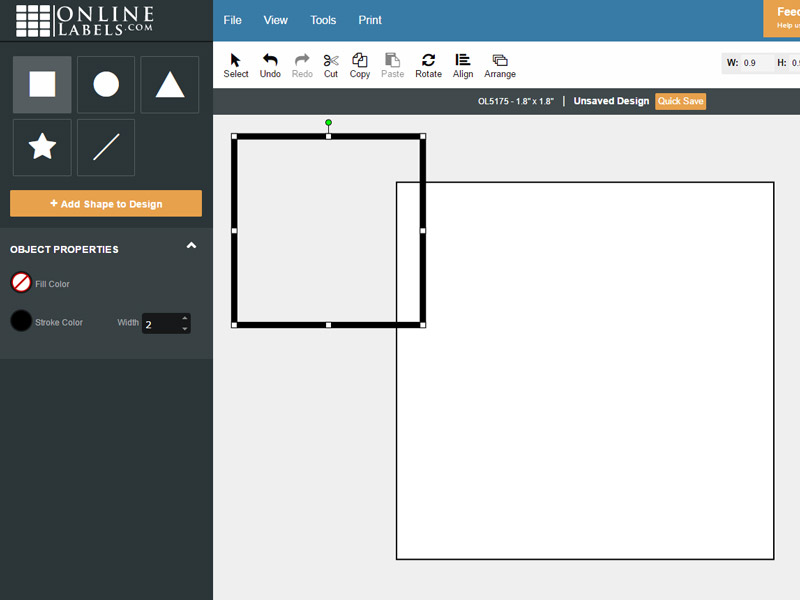
Using the "Shapes" menu in the vertical toolbar to the left of your screen, select the same shape as your label and add it to your canvas.
-
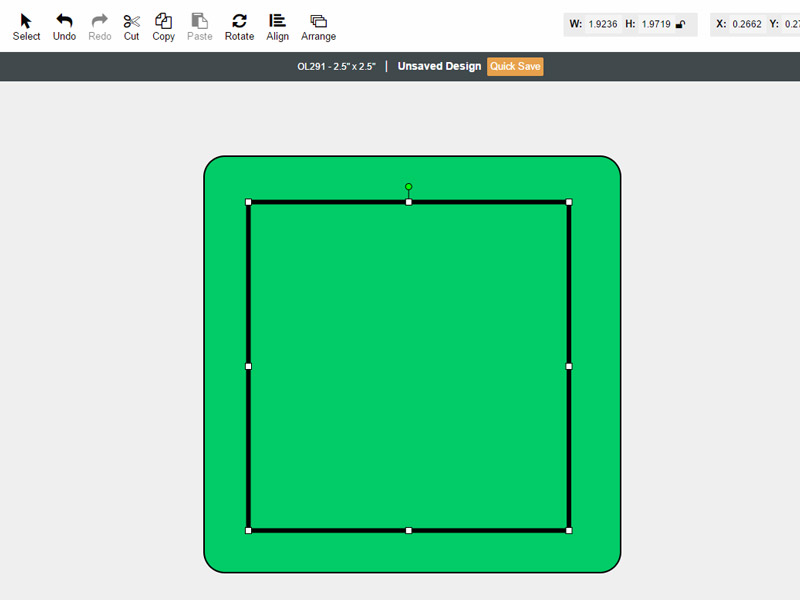
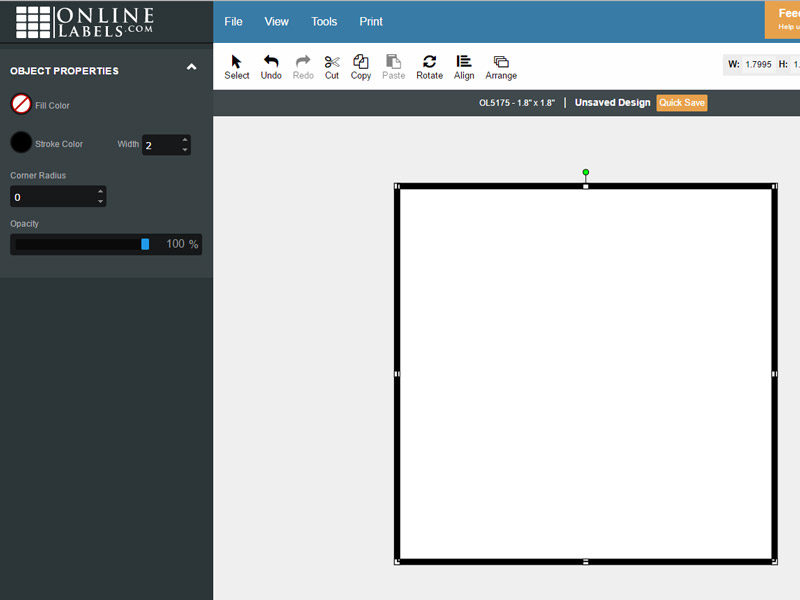
Use the "Align" feature in the white menu bar to center the shape on your label, then change the size of your shape so lays directly over the label outline.
-
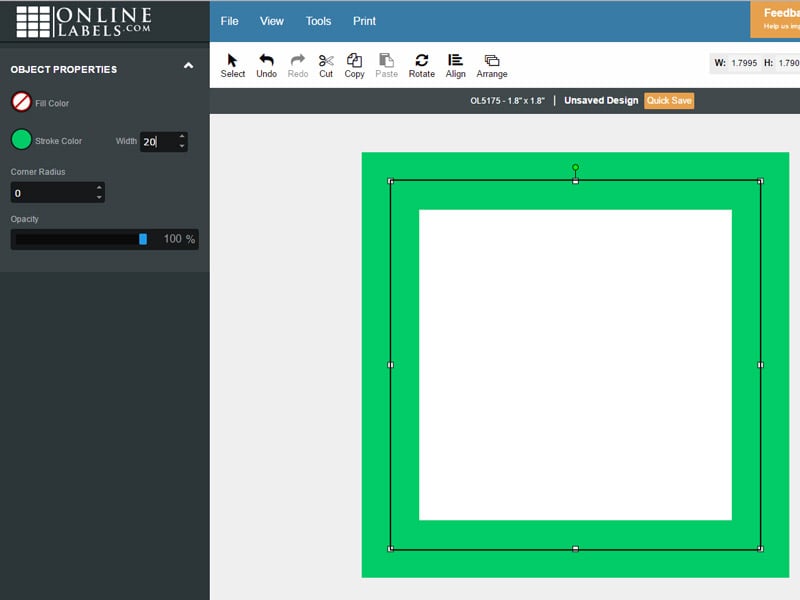
Adjust the "Fill Colour" to "Choose No Colour," change the "Stroke Colour" to your desired border colour, and increase the number beside "Width" so that your shape's outline is both inside and outside the border of your label.
If you need additional help creating a border for your label design, our customer service team can be reached at 0203 051 9664.