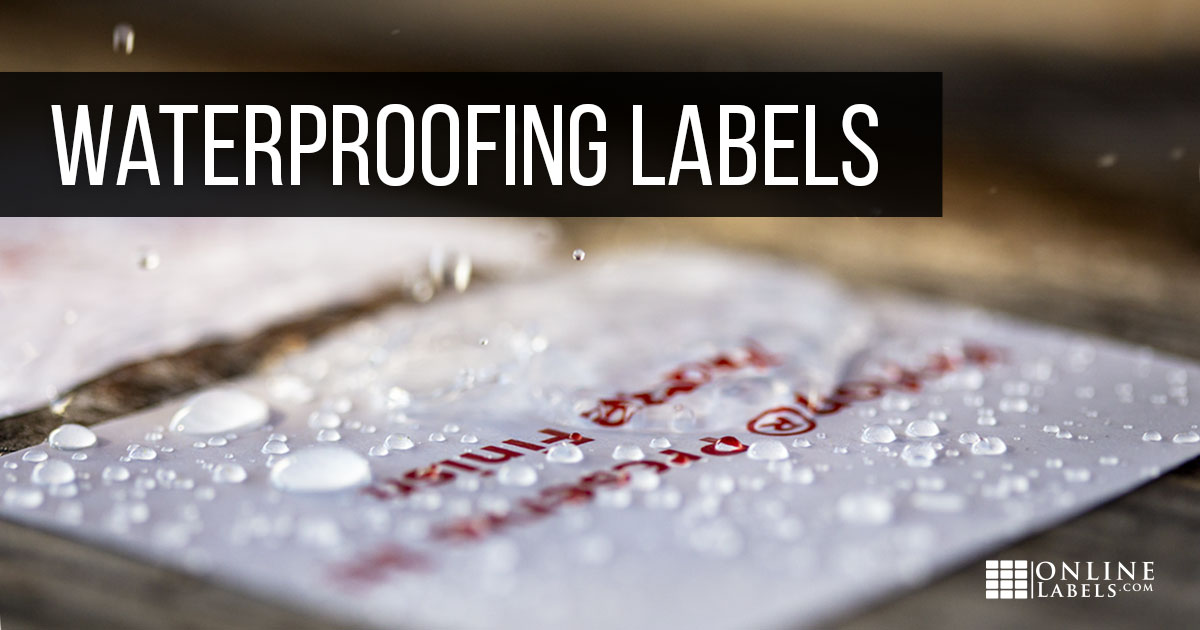
How to Make Your Labels Waterproof [After Printing]

This article is designed to help you add extra durability to your label sheets after they've been printed. While these tips may increase your labels' resistance to moisture, contact, or submersion, they work best with film-based labels. We cover choosing a good base material below, as well as several proven waterproofing tips.
Choose A Waterproof Label
We're proud to offer a full line of waterproof/weatherproof labels for inkjet and laser printers. They are capable of withstanding moisture-rich environments, heavy-handling, and more. Having said that, we understand there are conditions and applications that may require additional efforts. Before we cover those situations and possible add-on solutions, it's important to start with a strong base. Listed below are our waterproof label options separated by printer type.
Waterproof Labels for Inkjet Printers
Our weatherproof materials for inkjet printers both feature bright white facesheets perfect for creating vibrant, colourful designs. They function the same, but differ in their facesheet characteristics. One material has a matt coating whereas the other has a glossy coating.
Shop: matt white labels | gloss white labels
Waterproof Labels for Laser Printers
Laser printing technology creates a more durable print, so there are a few more options for laser printer users. If you're looking for white, we have a white polyester that features a matt satin sheen and another with a gloss finish.
If you're looking for a more unique option, you can also choose from matt clear, gloss clear, and silver polyester. As the names suggest, the first clear is frosted whereas the latter is completely transparent. The silver, on the other hand, has a silver finish reminiscent of brushed metal.
Shop: matt white labels | gloss white labels | matt clear labels | gloss clear labels | silver polyester labels
Add Durability
Once your labels are printed, here are two of our top recommendations for additional protection. Read through both options then choose the method that's best for you.
Apply An Overcoat Spray
There are great topcoating products available at most hardware and craft stores. A clear product with a glossy finish will provide the best look and give your labels maximum staying power.
- Print labels and wait for them to dry.
- Remove the matrix from your label sheet. The matrix is the facesheet material separating your labels.
- Place labels on a clean surface.
- Shake can vigorously for about a minute.
- Hold the can 10-12 inches away from the surface and using a sweeping motion, begin spraying off to the left of the sheet. Release the spray after each pass and give the can a good shake. Repeat until label sheet is covered to help ensure you get an even coat.
- Allow the labels to dry for 10-15 minutes.
- Peel your labels off the sheet and apply.
Apply An Overcoat Sheet
Our clear gloss laser labels are perfect for "laminating" your labels. The secondary label will help protect the edges of your label, so your designs will be sealed in safely!
- Choose a size slightly bigger than that of your label.
- Apply the clear label over the top of your existing label.
- Let it set. The longer it can sit before being exposed to wet conditions, the better it will perform.
Whether you're looking to increase the strength of your waterproof labels or add a little more durability to paper ones, the above tips can help certainly help. Looking for personalised support? Our customer service team is happy to help you find the right fit. Call us at 0203 051 9664.


