How To Create A Mail Merge Data List
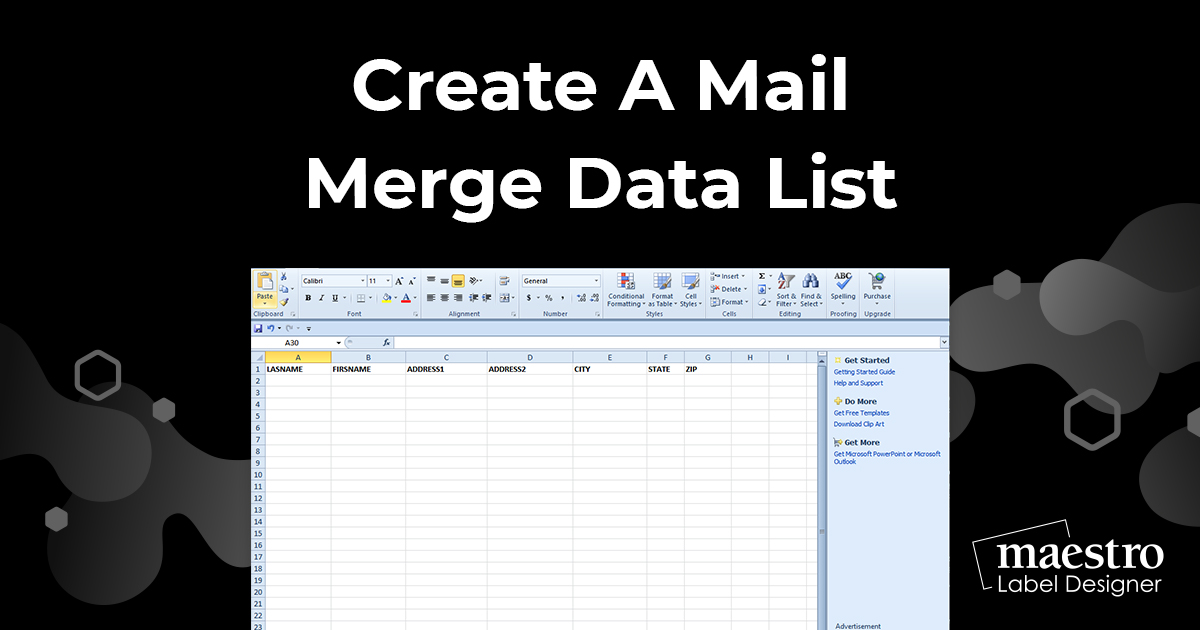
To use the mail merge function in Maestro Label Designer, you'll first need to create a data list. Below, we walk you through the process in Excel and Notepad so you can make labels with customized information.
If you already have your data list, jump to the mail merge tutorial.
Making a Data List in Microsoft Excel
-
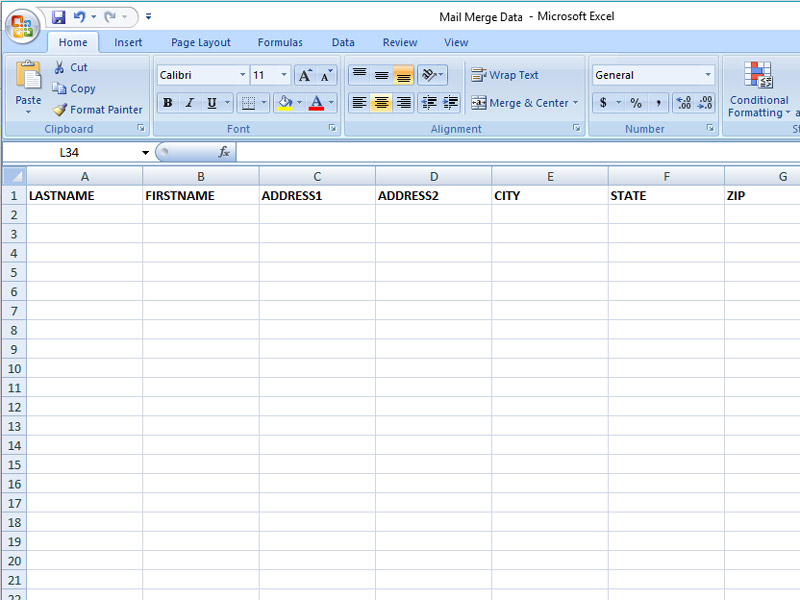
Add your column titles to the first row of your document.
Note: Avoid duplicates in column titles. Special characters including dollar signs will not transfer.
-
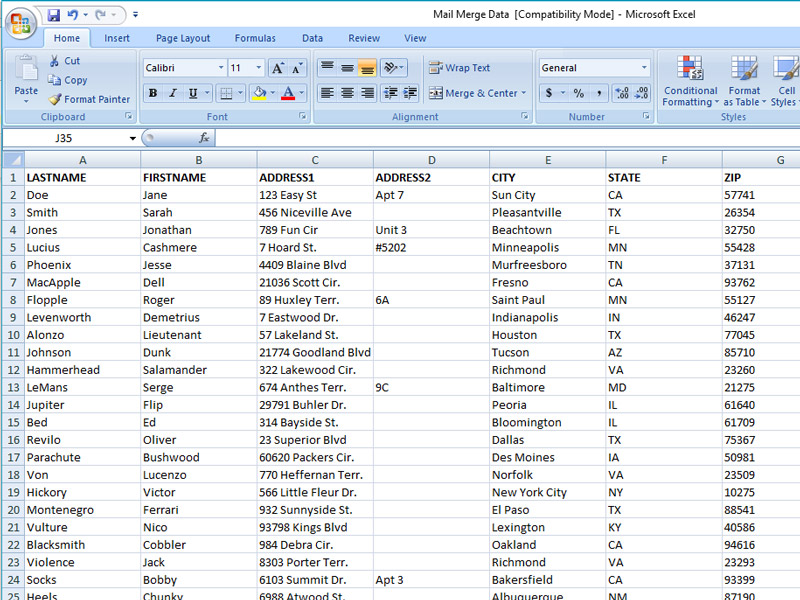
Enter your information in the appropriate columns.
-
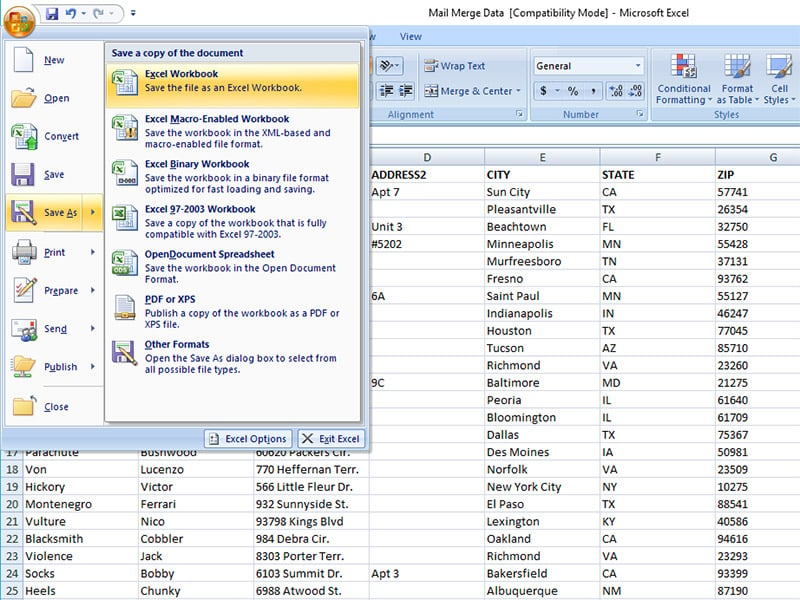
Open the menu in the top left-hand corner and click "Save As."
-
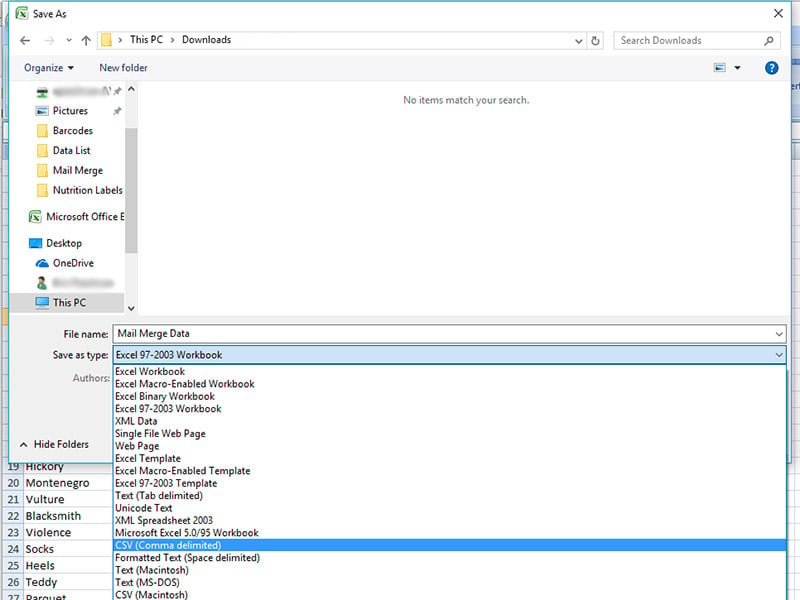
Name your file then click on the dropdown next to "Save as type." Maestro Label Designer will accept any of the following document types:
- CSV (Comma delimited)
- Text (Tab delimited)
- Excel Workbook
- Excel 97-2003 Workbook
Making a Data List in Notepad
-
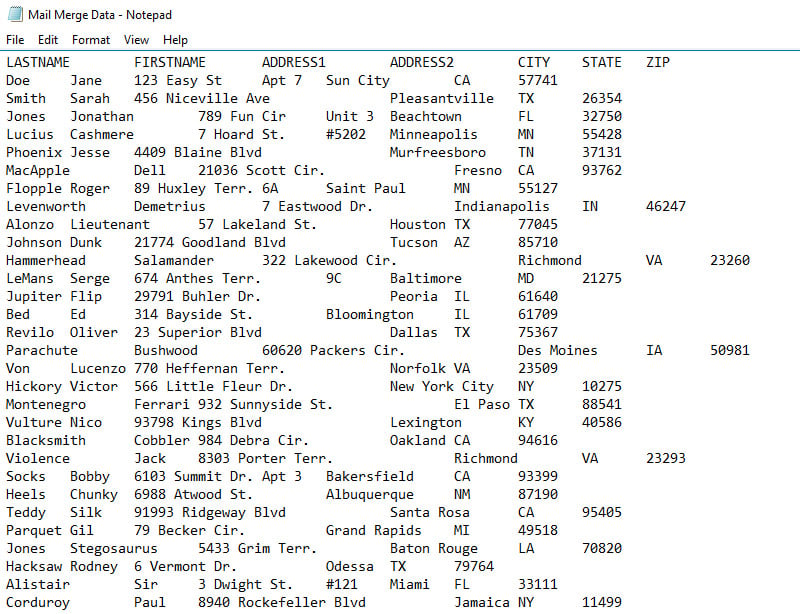
Type your column titles in the first row of your document, separating each one with the "Tab" button on your keyboard.
Note: Use only one tab between columns and avoid special characters and duplicates titles.

-
Enter your information following the same format.
Note: Your columns may not necessarily appear lined up. This is okay and will not affect your results.
-
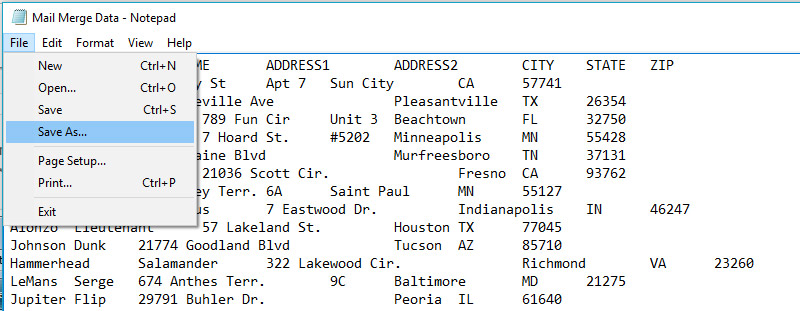
Click "File" in the top left-hand corner and click "Save As."
-
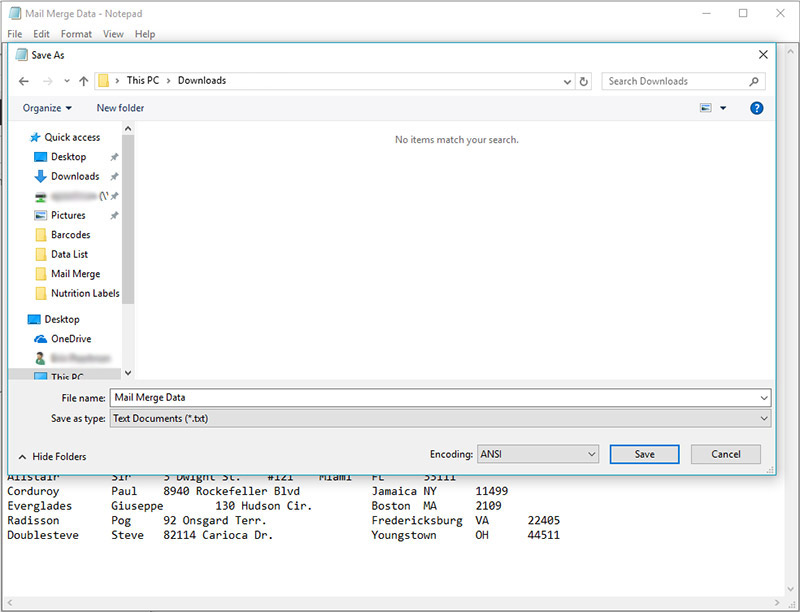
Name your file and select Text Documents (*.txt) as the "Save as type."
Once you have your file saved, continue to the mail merge tutorial and launch Maestro Label Designer.
For additional help creating a data list, customer service is available at 0203 051 9664.


