How To Crop Images In Maestro Label Designer

Follow these steps to crop your image for the perfect label design.
How to Crop An Image
Launch Maestro Label Designer and sign in.
-
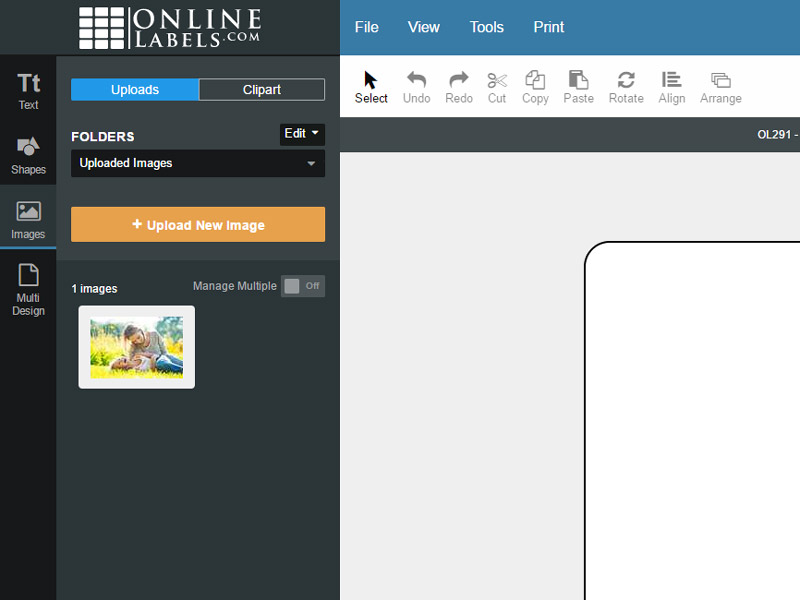
With your label template open, click on the "Images" icon in the vertical toolbar to the left of the screen.

-
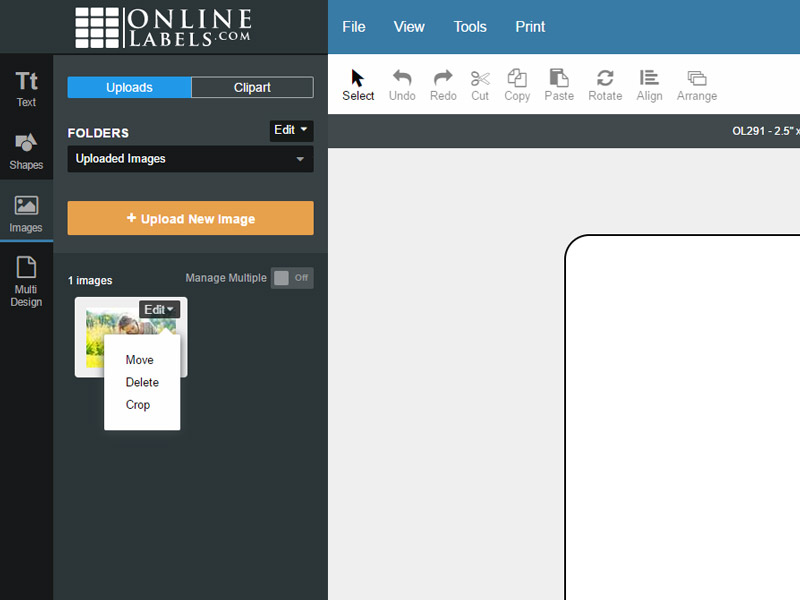
Hover over the image you would like to crop and click the "Edit" button that appears on the thumbnail.

-
Click "Crop."
-
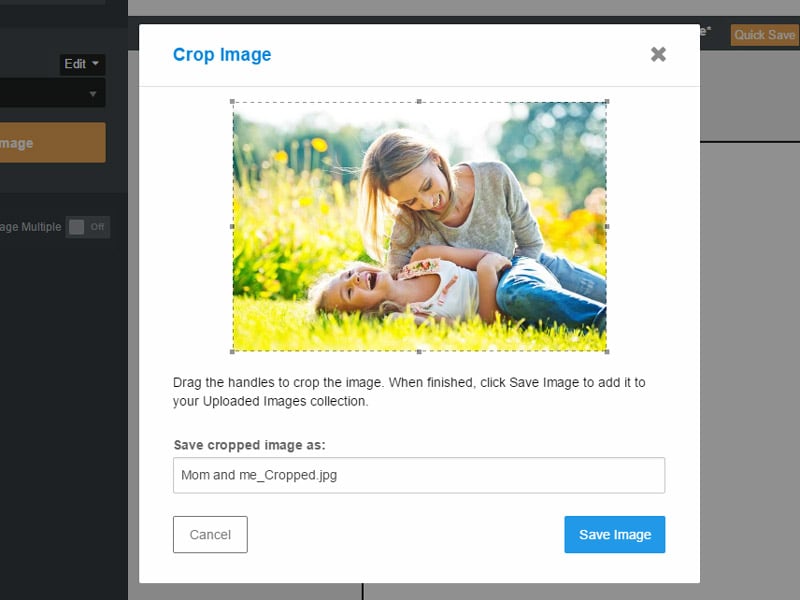
Resize your photo and hit "Save Image" when ready. The newly cropped image will save to your "Uploaded Images" folder.

-
Proceed with adding it to your canvas as normal.
Need help with your specific part of the process? Speak with our support team by calling 0203 051 9664.


