How To Create A Label Using Blank & Pre-Designed Templates
Maestro Label Designer includes access to hundreds of blank and pre-designed label templates. Follow the steps below to get started with the option of your choice.
Using A Blank Label Template
Read the instructions below to create your label design from scratch.
-
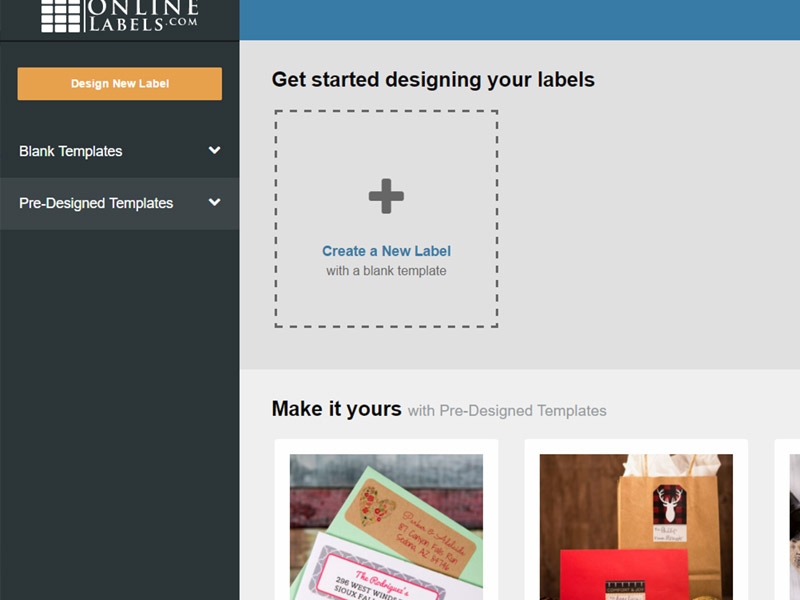
Launch Maestro Label Designer.
-
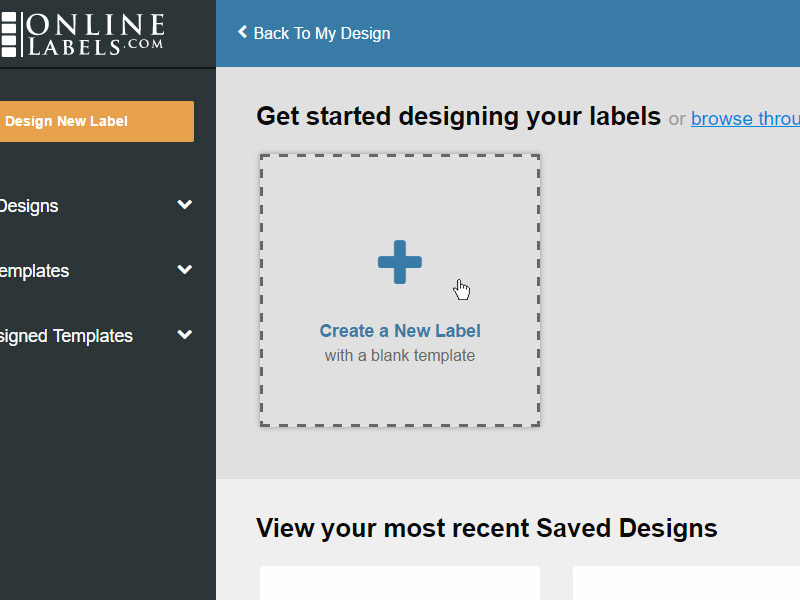
Click "Create a New Label."
-
Select your template by scrolling through the list or typing your product number into the search bar at the top of the page.
Note: This number will most likely begin with OL or RL and can be found on your packing slip, confirmation email, or in "Order History."

-
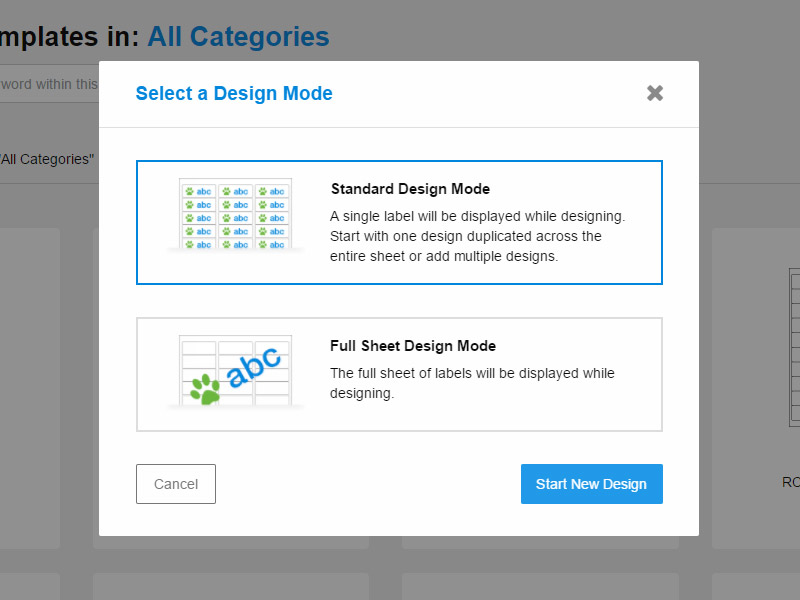
In the resulting dialog box, select the design mode that best suits your needs and click "Start New Design."
Choose "Standard Design Mode" to print the same design (or set of designs, learn more) on each label. Click "Full Sheet Design Mode" to spread a single design across multiple labels.
Begin designing your label.
Using A Pre-Designed Template
Use the instructions below to start from a professionally designed label template.
-
Launch Maestro Label Designer.
-
Select from popular categories under "Make it yours" in the middle of your screen or click "Pre-Designed Templates" in the left toolbar.
-
Browse our extensive collection of pre-designed label templates.
You can narrow the selection by typing your product number at the top of the page, searching specific keywords, or selecting a category in the left-hand column.
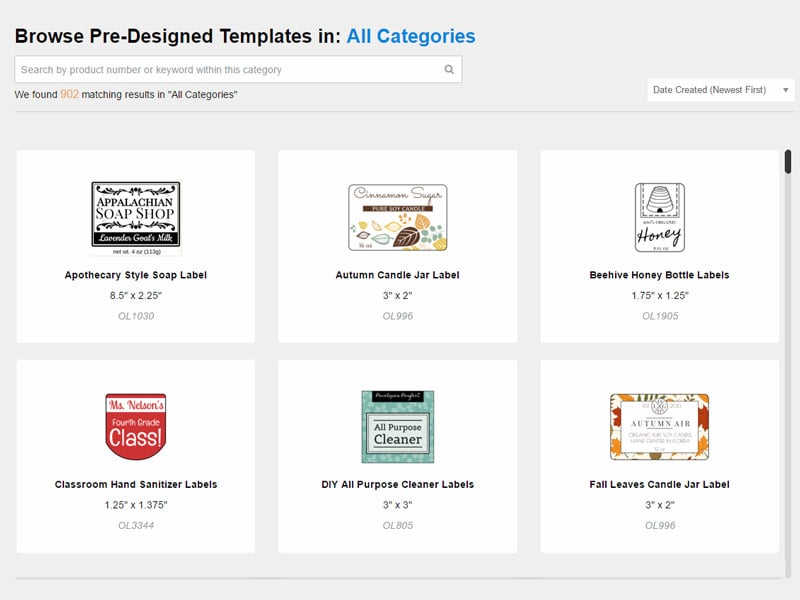
-
Click on the desired design to open it.
Have questions? Please contact our customer service at 0203 051 9664.