How to Apply Lip Balm Labels
Creating personalised lip balm labels for parties, events, or to sell can be fun and a great business. It can also be frustrating if you can't seem to keep them labeled. There are a bunch of reasons why you could be having trouble applying your lip balm labels or keeping them stuck on your tubes. Below, we've listed some of the most common ways to overcome them so you can apply the perfect label every time.
Don't have your labels yet? Browse our selection of lip balm labels to find the perfect one for your needs.
1. Work Clean
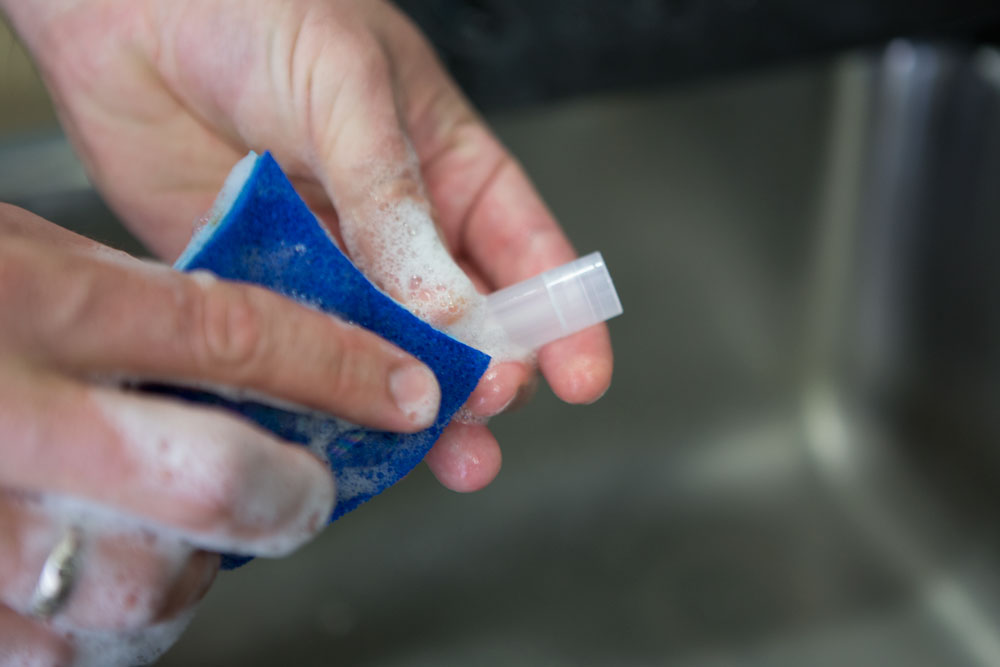
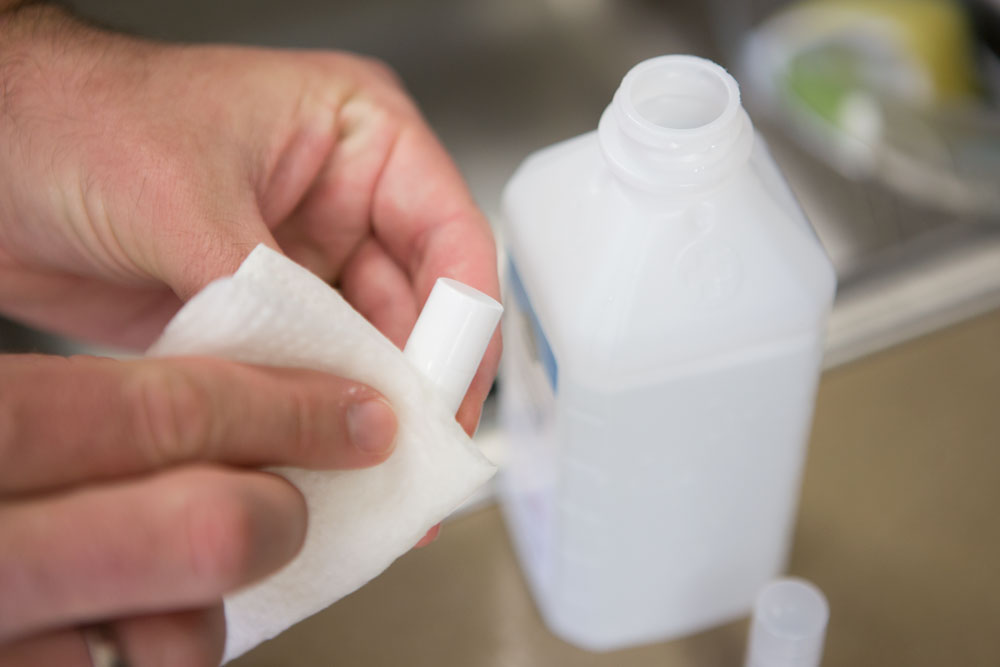
Clean hands, tools, and work spaces are essential for success. The first thing anyone labelling lip balm should do is wash their hands. Natural oils and dirt can degrade the adhesive, causing your labels to lose their stick. Clean tube containers are another big one. Try washing the surface of your lip balm tube with dish soap or rubbing alcohol. This will de-grease the surface to optimise adhesion. Just be sure the tubes are completely dry before labelling!
2. Create Surface Texture
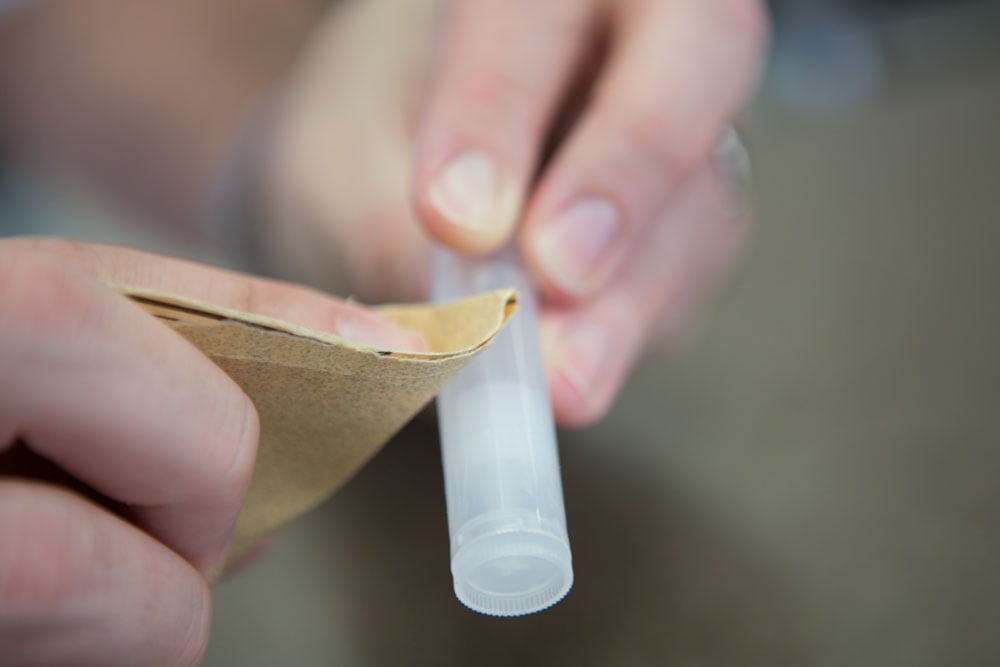
Try priming the container surface if you're having trouble keeping your labels on. Use very fine sandpaper or emery cloth to lightly rub the tube. This adds texture to the container that helps the label have a better stick. Make sure to clean the tube again before applying the label, wiping off any debris and oils.
3. Don't Get Wax on Your Tubes
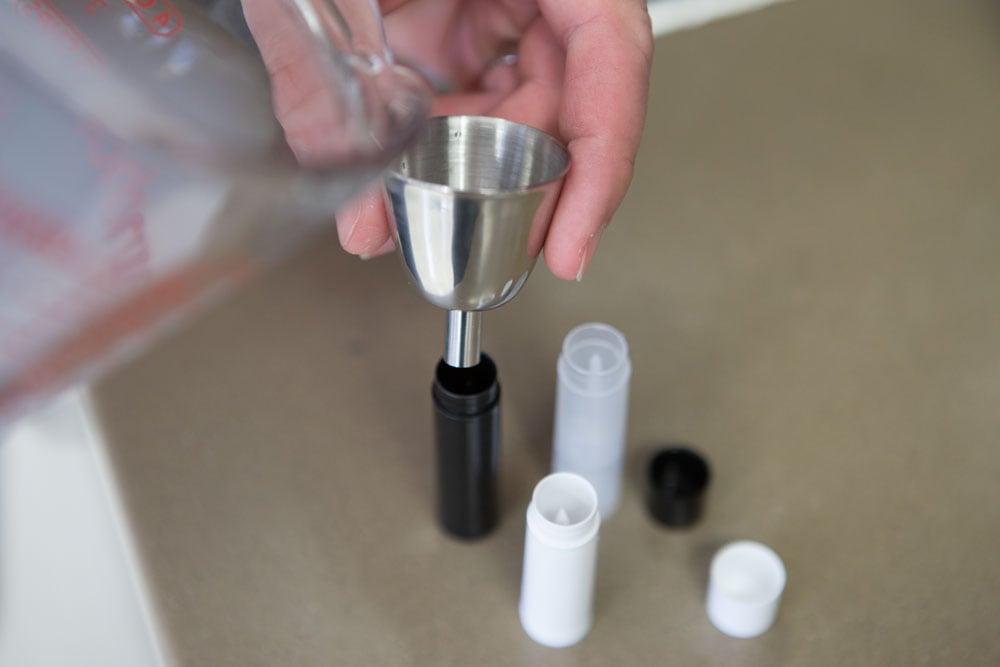
There are two main ways you can work around this — use a funnel or a pouring tray. The funnel method is depicted above.
- The funnel method: A funnel is an easy way to make sure all of the wax gets in your tubes while pouring. This is perfect if you're only labelling a few tubes at a time.
- The pouring tray method: If you're making lip balm at a higher quantity, a pouring tray is the perfect tool. It makes filling a batch easy and quick. Learn more about pouring trays from the Soap Queen blog.
4. Make Sure Your Lip Balm is Fully Completed
The process of making your own lip balm involves a lot of heat and cooling. Varying temperatures can make the tube expand and contract slightly, irritating the label and causing it to undo. Heat from hot wax can also melt the adhesive of the label, making it more difficult to stick. Therefore, you should consider doing your labelling last – think of it as the icing on the cake.
5. Choose A Durable Material
The strength of your label's adhesive can play a big role. Labels with stronger adhesives like our weatherproof materials, are made to be more durable. Read more about the benefits of weatherproof labels. Our materials for laser printers are also great options. While they feature our standard adhesive, they're more likely to keep your design in tact. Whereas inkjet printers drop ink onto your label sheet, laser printers fuse toner to it. This method makes them more adept at withstanding heavy handling.
6. Apply Your Lip Balm Label
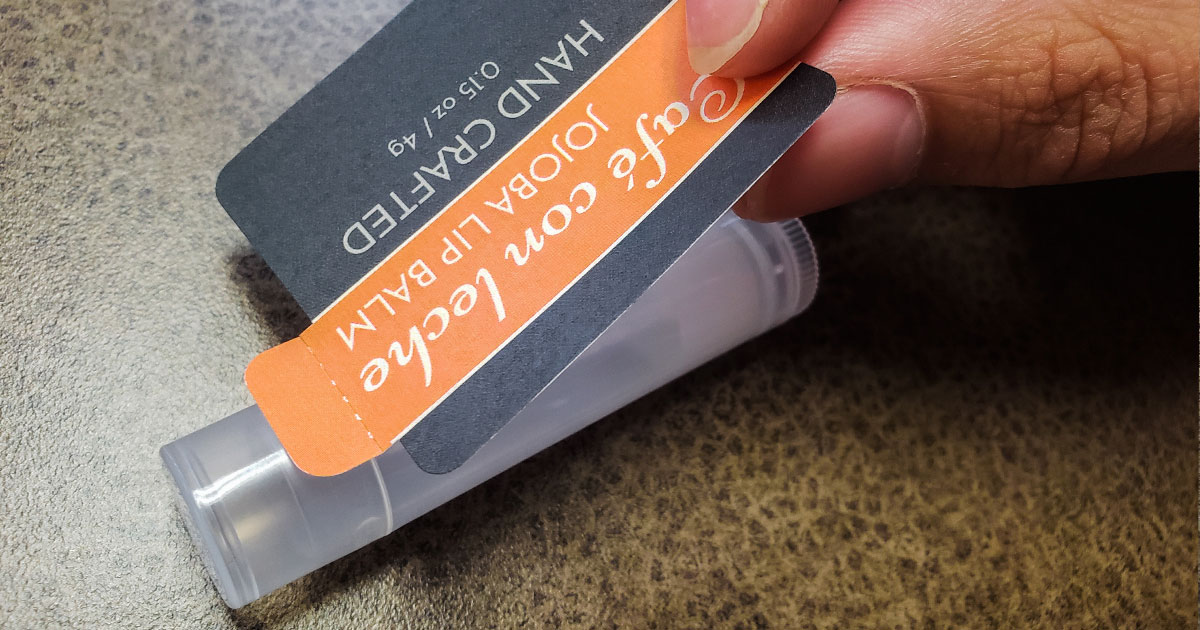
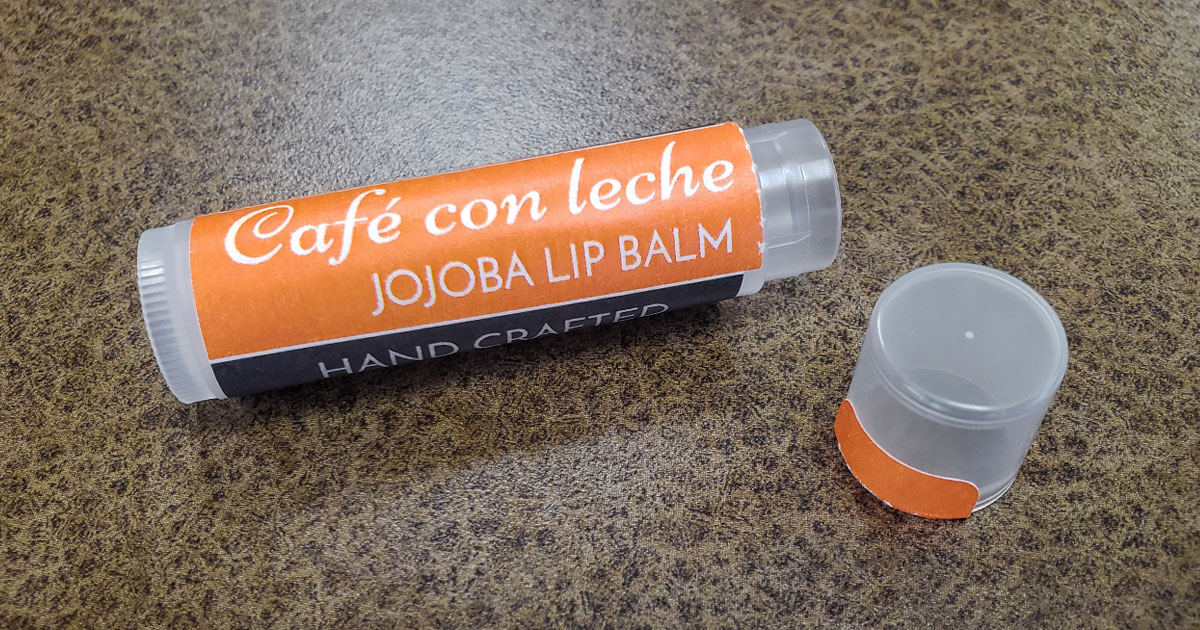
The best way to apply a lip balm label is to line the label up with the lid or the bottom of the tube, based on your preference and label type. If your label has a perforated tab or a fully perforated top, you'll want to use the lid as your guide. Try to get as close as possible to the separation point so the label isn't difficult to tear for the user. Once you have your labels in the right position, apply the middle of the label first. Press down with your thumbs from the centre out, creating a smooth bond between the label and the tube. Once it's applied, use moderate force to ensure the best stick.
If you make lip balm often, keep this page bookmarked so you can revisit it whenever you need a refresher. You can also share your finished product with other customers in our Customer Ideas gallery or restock with our selection of lip balm labels.
Running a lip balm business? Check out tips for success and hear from expert sellers on the topic.


