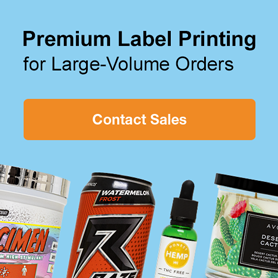
Tips for Creating the Perfect Bottle Label
Measuring Your Bottle
When it comes to labeling curved objects like bottles, it can be tricky to find the right size. Below, we've outlined two popular ways to measure your bottles and find the perfect size bottle label:
Method 1: Using the Printable Ruler
With a bendable ruler, you're able to accurately measure the circumference.
- Download, print, and cut out our A4 printable ruler. (Make sure you're printing it at actual size!)
- Wrap the ruler around your bottle. If you're looking for a full-wrap label, add a little extra to your end measurement.
- Record your bottle's dimensions.
Method 2: Multiplying by Pi
- Find the diameter of your bottle. You can do this by measuring the width of the bottle's bottom.
- Multiply that number by pi (3.14). If you're looking for a full-wrap label, add a little extra to your end measurement. If you're looking for less than a full-wrap, subtract from your number until you have a length you're happy with.
Picking the Right Size Bottle Label
- Visit the Shop by Size page on our website.
- Adjust the slider toward the top to your desired dimensions or enter the exact measurements you need.
- Browse through your options.
- Once you pick a label, you may want to test it against your bottle. Cut out the dimensions on a piece of standard printer paper and make sure you're happy with the results.
Choosing a Bottle Label Material
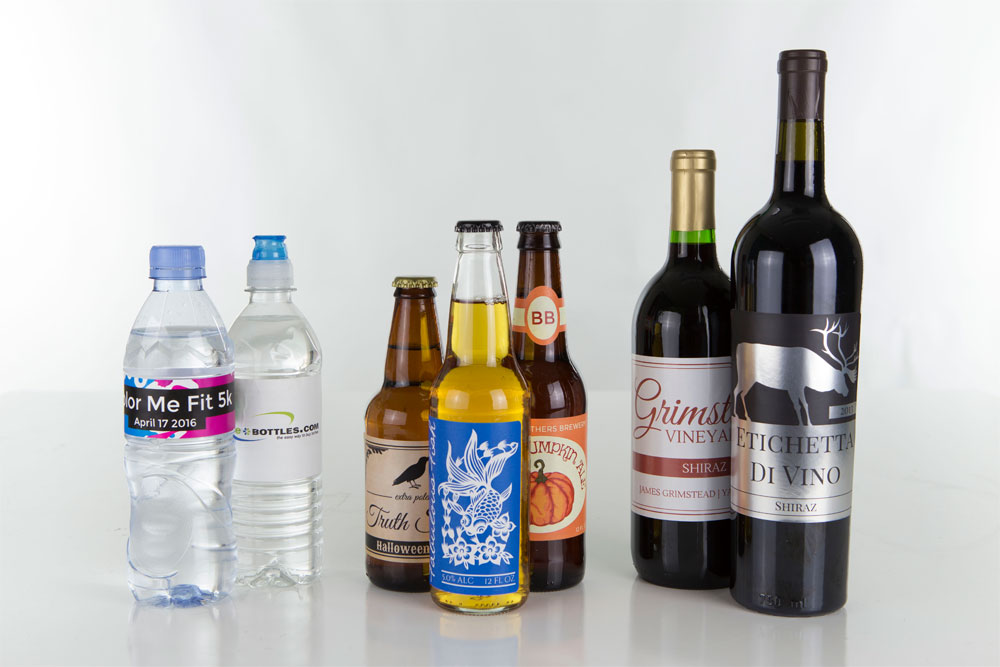
If you're labeling water, beer, or white wine, there's a chance your bottle will end up in a fridge or cooler. You want your label to stand up to whatever conditions it comes into contact with. Many of our labels are weatherproof / waterproof, designed to resist water and keep your design looking great. For moisture and liquid protection, choose from these materials: waterproof labels.
Designing a Bottle Label
When it comes to designing a bottle label, you may not know where to begin. Below are a list of resources you can use to help you get started:
- Launch Maestro Label Designer for an easy design and printing process.
- Download a blank label template for the label size you've selected in your desired format. All of the templates we offer are free and compatible with the specifications of our label products.
- Browse our pre-designed templates for professionally designed templates you can customise.
Applying a Bottle Label
Once you've made your bottle material and size selection, designed the label, and hit print, the next big step is to ensure the label is correctly applied to your bottle. The following steps are among the easiest and most recommended ways to apply a label to a bottle.
- Place the bottle on a surface that won't allow it to roll. We've found that placing it in your lap and using your knees to hold the bottle securely works well.
- Carefully peel the corner of the label under the seam away from the protective backing.
- Grasp the label lightly on both ends and align to the label area on the bottle.
- Press the label onto the bottle at the center and smooth out to one side. Return to the center and repeat for the remaining side.
- Smooth all the edges down to eliminate any air pockets or creases.
We hope this guide was helpful as you set out to create custom bottle labels that are not only appealing, but functional. Whether you're creating labels for water, beer, wine, events, parties, or business, our selection of bottle labels will ensure you make the best one possible.
Looking to increase wine sales? In our tell-all article, we make it easy. You may also want to check out our wine bottle labeling tutorial.