How To Organize Your Label Designs Using Folders
If you're using Maestro Label Designer to create a multitude of different designs, we want to help you stay organized. Use the instructions below to create, edit, and delete folders as well as move, rename, and delete designs.
How to Create Folders
Launch Maestro Label Designer and sign in.
-
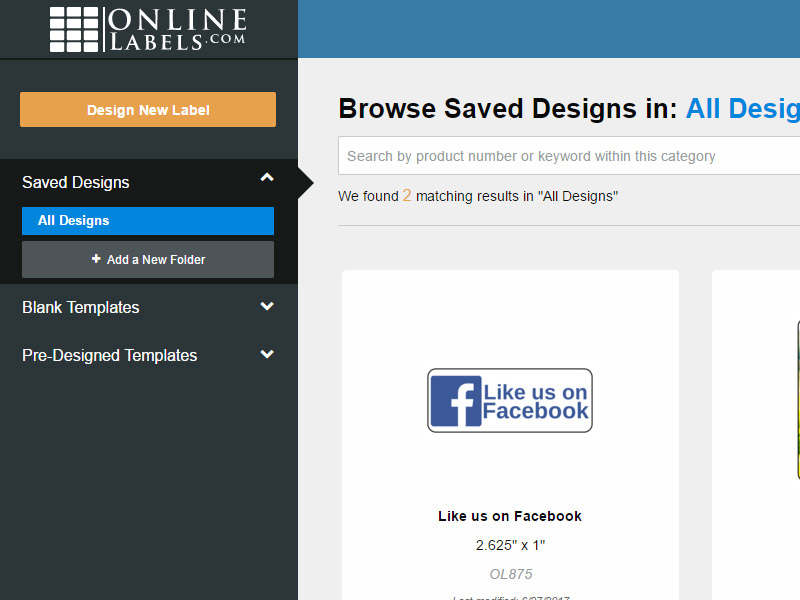
Click "Saved Designs" in the vertical toolbar to the left of the screen and select "+Add a New Folder."
-
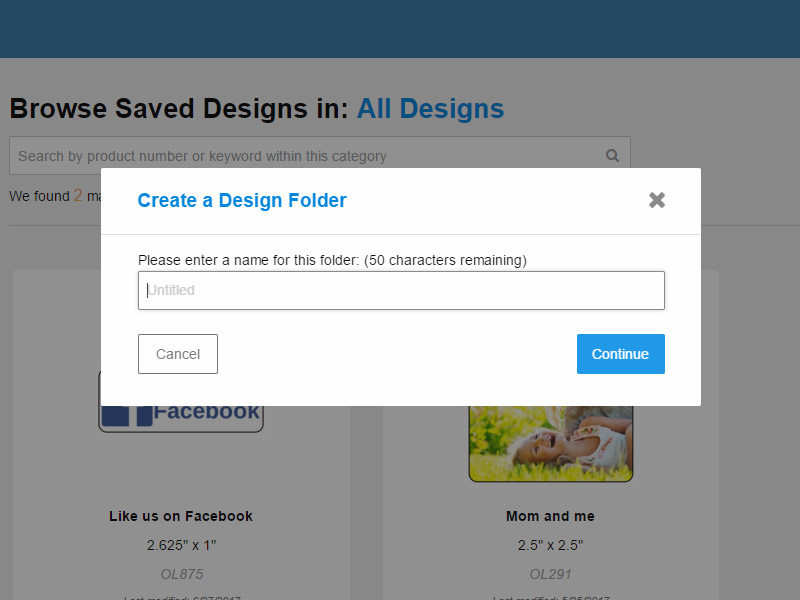
Name your folder and hit "Continue." Repeat as needed.
How to Edit & Delete Folders
Launch Maestro Label Designer and sign in.
-
Click "Saved Designs" in the vertical toolbar to the left of the screen.
-
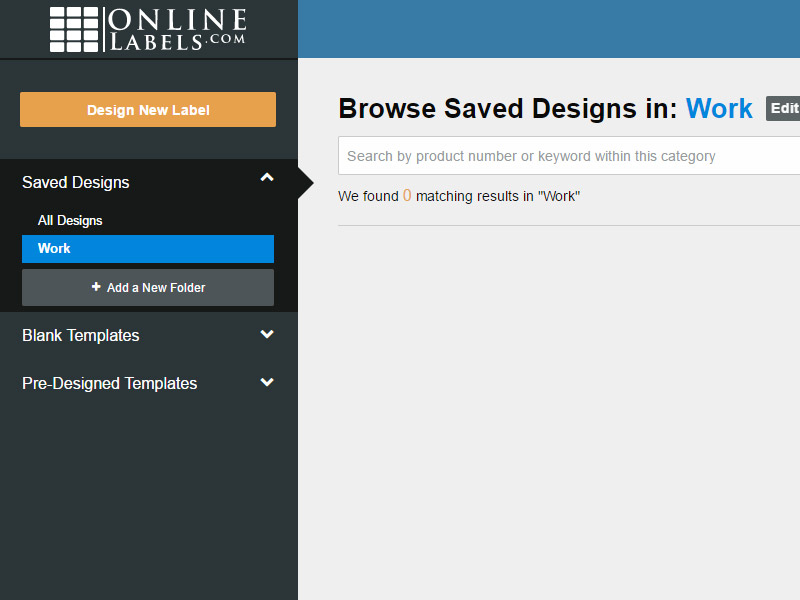
Select your desired folder from the left toolbar.
-
Hover over the "Edit" button at the top of your screen.
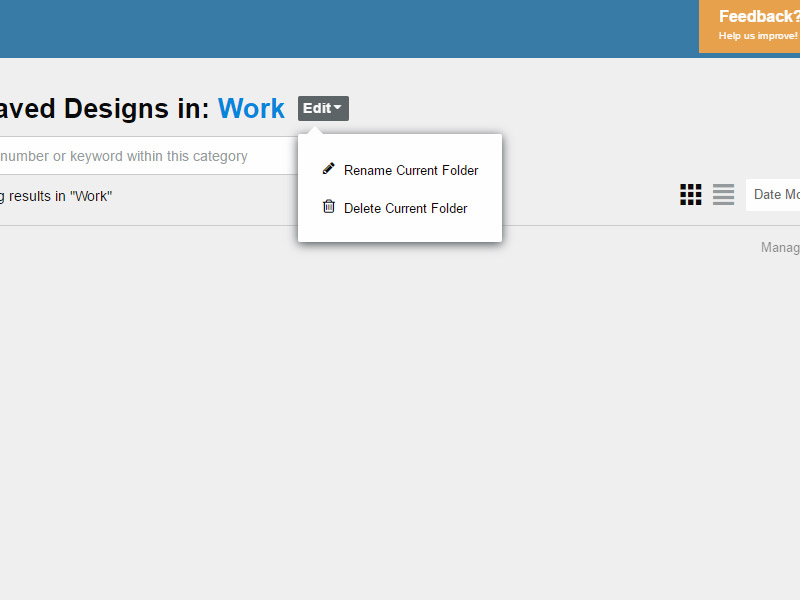
- Select "Rename" to give your folder a different name. Enter your new title and hit "Continue."
- Select "Delete" to remove the folder from Maestro Label Designer. Confirm you would like to delete your file(s) by clicking "Yes" in the following pop-up.
How to Organize Designs Into Folders
Launch Maestro Label Designer and sign in.
-
Click "Saved Designs" in the vertical toolbar to the left of the screen.
-
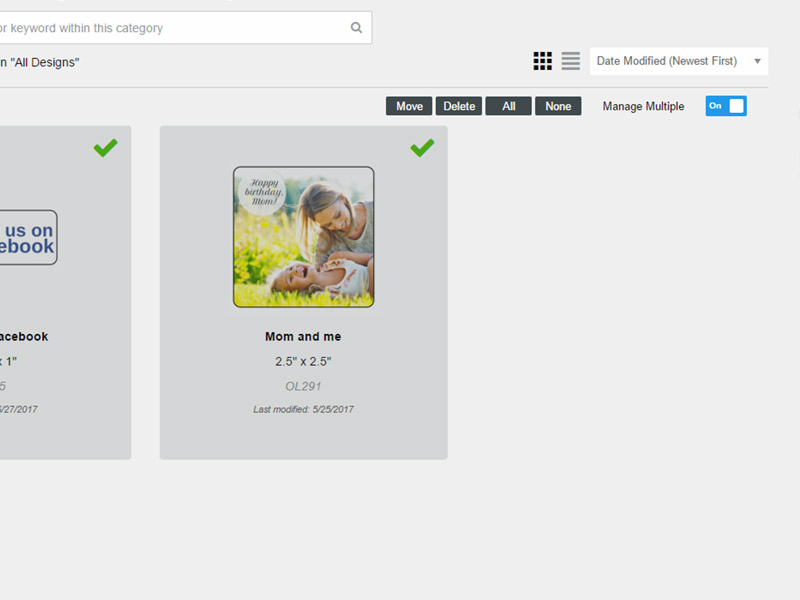
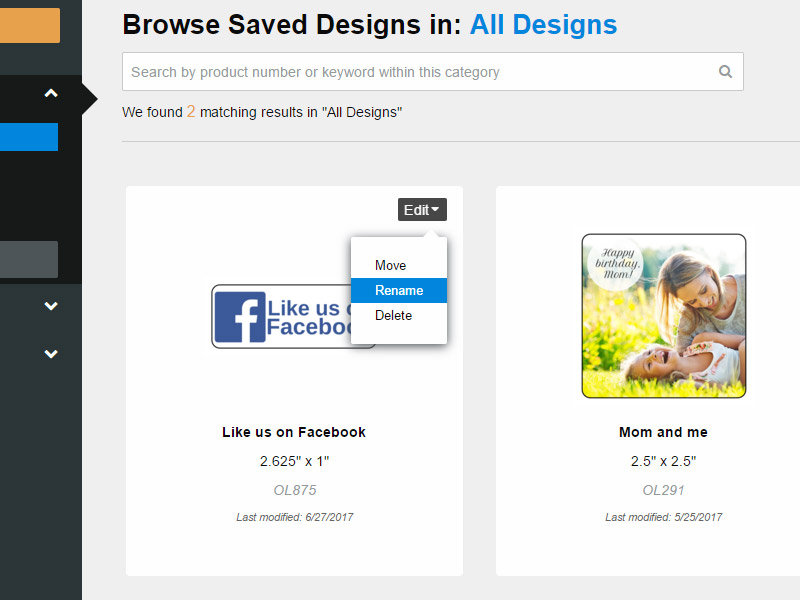
Move one file at a time by hovering over your desired design and selecting "Move" from the "Edit" dropdown or move a group of files by clicking the "Manage Multiple" toggle on the right side of the screen.
-
Select the new destination folder and hit "Continue."
Note: Your label(s) will not disappear from the "All Designs" page.
The above steps will also work for deleting designs.
How to Rename Designs
Launch Maestro Label Designer and sign in.
-
Click "Saved Designs" in the vertical toolbar to the left of the screen.
-
Hover over your desired design and select "Rename" from the "Edit" dropdown.
-
Enter your new file name and click "Continue."
If you have deleted a design in error or have additional questions regarding the folder system, please call our customer service team at 0203 051 9664.