Mail Merge Guide
If you need to add unique information to every label on your sheet, using the mail merge tool will save you time! Instead of editing and printing each label individually, you can import your data and have it populate onto the design with the press of a button.
What Is Mail Merge?
Mail merge (or data merge) is the process of inserting a set of data using placeholders. It's commonly used in the introduction field of emails and documents. For labels, it's popular for creating name tags and address labels.
How to Set Up Your Mail Merge
Launch Maestro Label Designer and sign in.
Open your desired label template.
-
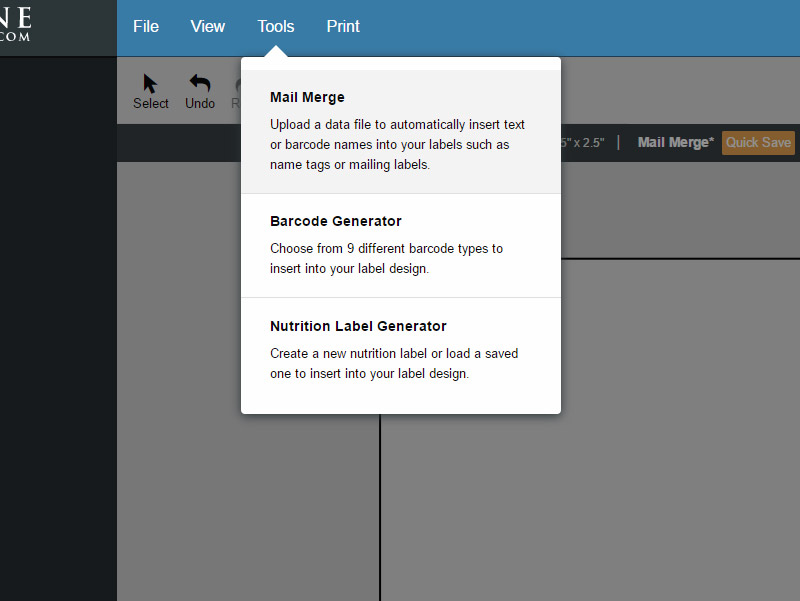
Hover over "Tools" in the blue navigation bar and select "Mail Merge," then hit "Start Mail Merge."
-
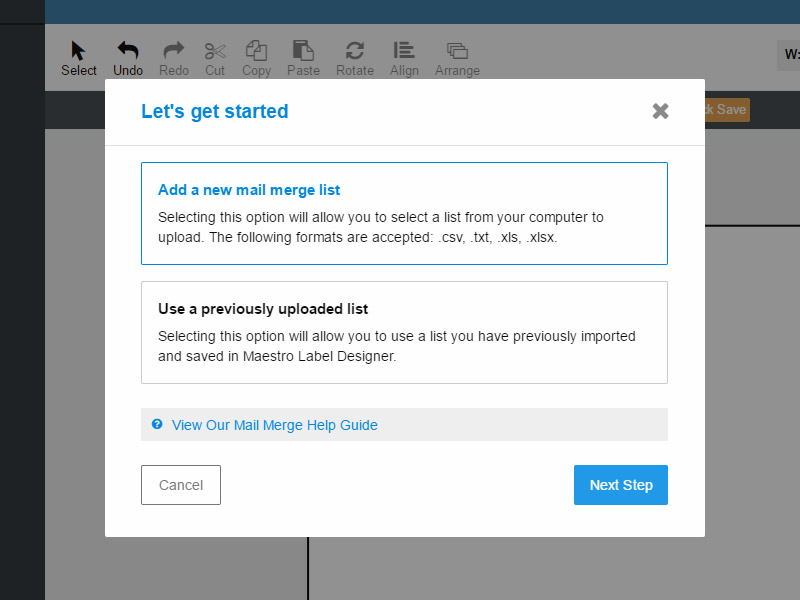
You will be prompted to add a new data list or use an existing list.
Note: If you don't have a document created yet, learn how to make a data list.
-
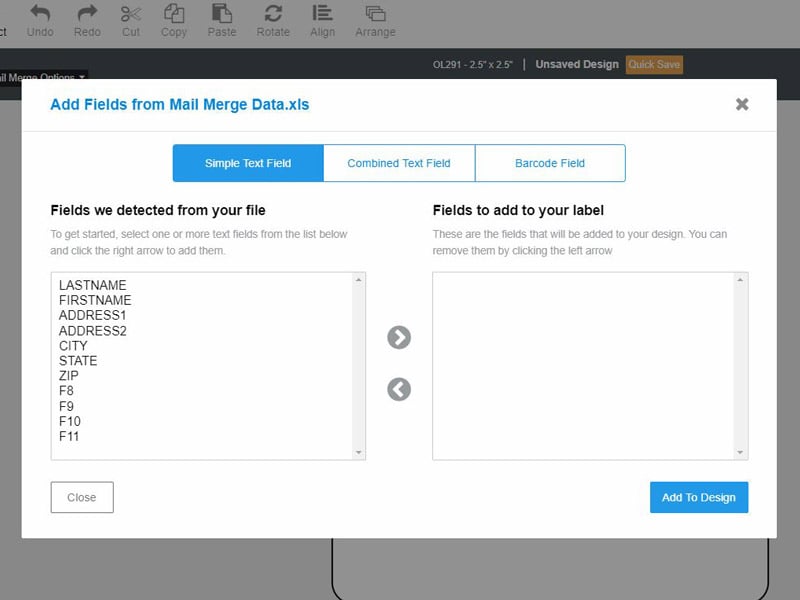
Use the menu options at the top of the page to choose your format.
"Simple Text Field" will add each field to your design as a separate text box. This will allow you to move the data from each column of your data list separately. The "Combined Text Field" option puts all the selected fields into one textbox. With this version, you cannot move the data to different parts of your label without moving everything.
The "Barcode Field" is for creating barcodes. For instructions on this process, switch to our barcoding tutorial.
-
Select the fields you would like to import using the green arrows and click "Add To Design" when complete.
-
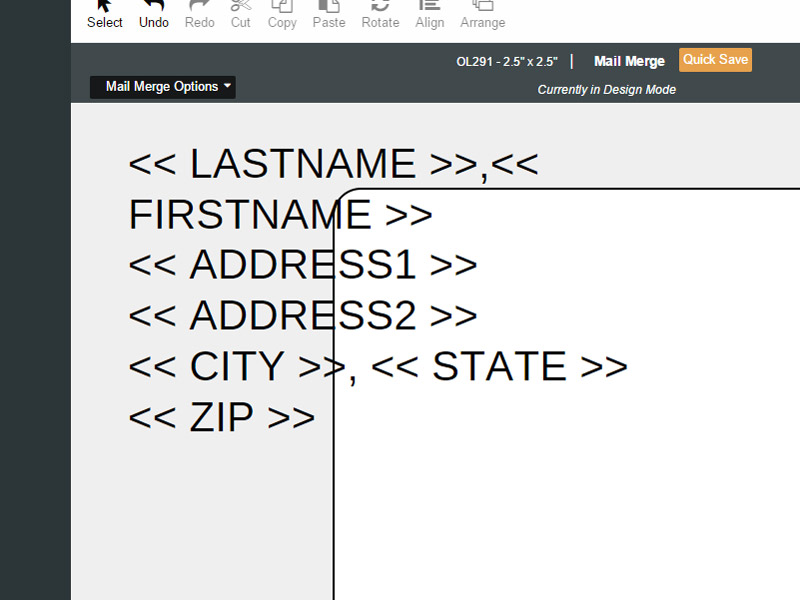
Edit the text properties and arrange the fields on your canvas as needed.
Note: Any changes will be applied to the entire dataset, you cannot change the settings of an individual entry.
-
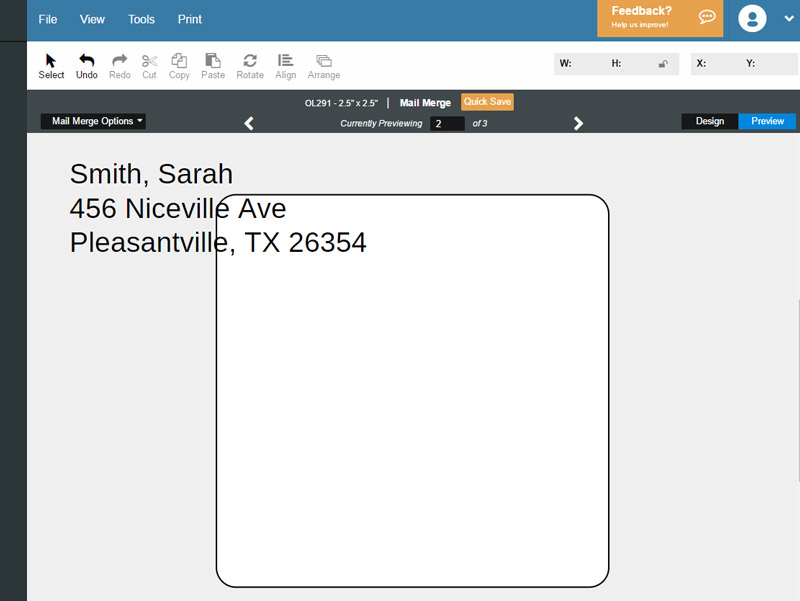
Click "Preview" in the top gray bar to view your personalized data instead of the placeholders.
The placeholder text will be replaced with the information from your document. Use the white arrows to view each label's content. We highly recommend this before printing.
How to Edit Your Mail Merge
- Select your mail merge textbox(es).
- To edit which information from your data list is being used, click "Edit Field."
- To add additional information from a different column of data in your same data list, hover over "Mail Merge Options" in the top gray bar and select "Add Data Fields."
- To replace your data list with a new list, hover over "Mail Merge Options" in the top gray bar and select "Switch Lists."
- Note: This will effectively remove all of the data on your label unless the same fields can be found in the new list.
- To delete your dataset and turn off mail merge, hover over "Mail Merge Options" in the top gray bar and select "Disable Mail Merge."
For help using mail merge in Maestro Label Designer, please call our customer service team at 0203 051 9664.