How to Create & Print Barcodes for Your Business

Whether you want to better manage your inventory or speed up checkout times at the register, barcodes can be a great business resource. Before we tackle implementation, make sure you've evaluated the benefits and costs of small business barcoding. Is your business ready to add barcodes to the mix? Let's start by addressing some common FAQs about creating and printing barcodes.
How do I create the codes for my barcodes?

Before you can create the graphic part of the barcode, you must first come up with the codes within them. Also known as SKUs, product codes, or item numbers, these codes should describe each of your products in a condensed version of letters and numbers.
When formulating your naming convention, here are a few things to keep in mind:
- Figure out which type of barcode you'll be using before creating your product codes. Different types of barcodes accept different characters which could alter or invalidate your naming convention. Learn about the various barcode types.
- Think about what pieces of information are important in telling your products apart. This could include size, shape, material, colour, type/category/department, vendor/manufacturer, warranty, quantity, etc.
- Consider the future of your product line in this stage. You don't want to pick something too small that your business will quickly outgrow. For example, just because you're only selling one colour now doesn't mean you shouldn't include the colour in your product code, you may have more colours down the line.
- Create a standard formula. Each code should follow the same format – size first, then shape, then colour, for example. Once you become familiar with the format, it will be easy to tell your products apart just by looking at the codes. More importantly, this is critical for scaling your naming convention as your business and product offerings grow.
- Avoid letters and numbers that can be easily misread. This isn't exclusive to handwritten information – it applies to printed content as well. Zeros and O's; one's, capital I's, and lowercase L's; Z's and two's; and T's and 7's are among the most commonly confused.
- Abbreviate when you can. Instead of spelling out “small,” simply use the letter “s.” This will keep your product codes short.
- Once you've created a system, make sure to document it somewhere. You'll also want to keep a running list of all the product codes and their associations.
How do I create the barcode?

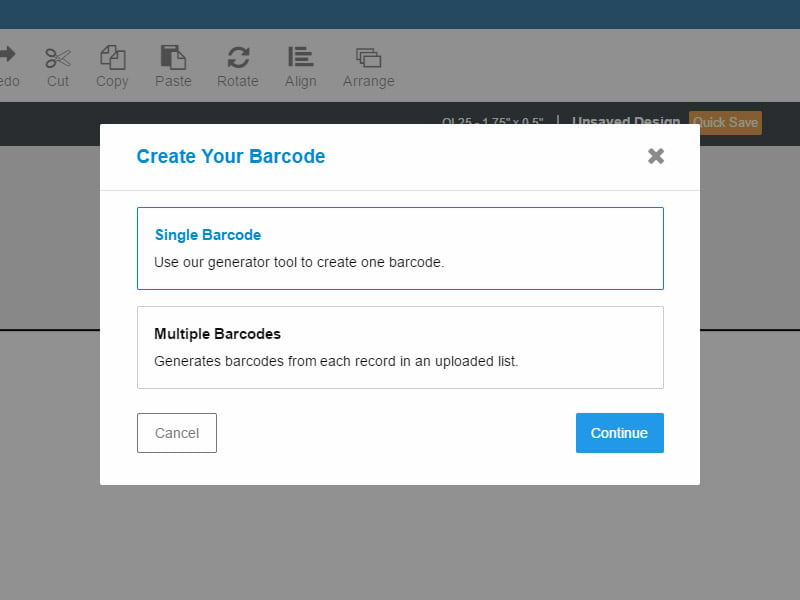
Once you have your barcode's codes, it's time to create the graphic. Launch Maestro Label Designer to get started. If you only need to make one barcode, select "Single Barcode" and choose the barcode type that best suits your needs. Adjust the output settings so you receive the barcode you're looking for. The generator will produce a .png image file you can use with Maestro Label Designer or other design applications. If you're interested in creating a series of barcodes instead of making them one-by-one, you can create a data list with your barcode combinations and use Maestro Label Designer to generate a series of barcodes.
What do I do with my digital barcode(s)?

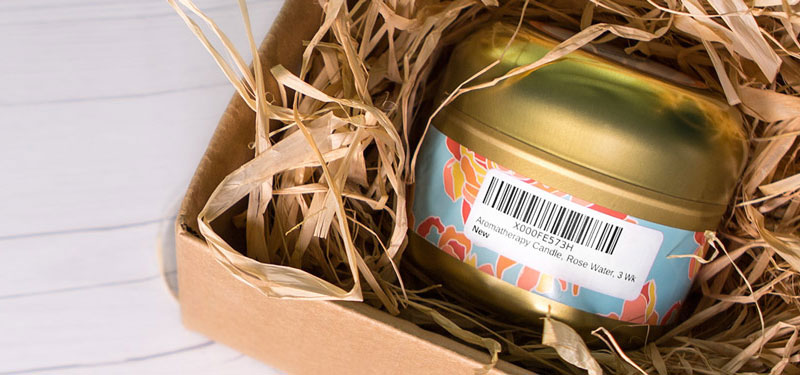
Once you have your .png barcode graphic, there are a couple of steps you can take. Depending on the size of your product line and operation, you can either incorporate it into your packaging or print the barcode separately and affix it with a label.
In either case, Maestro Label Designer is perfect for working with barcodes. It has all the capabilities of your typical barcode generator plus those of label design software. Learn how to upload your barcode.
How do I design barcode labels?
Because your barcodes are being read by scanners as opposed to people, they need to be designed for maximum readability. Here are some design rules and tips to keep in mind when designing your barcode labels:
- Choose colours with high enough contrast. You want the background to reflect light and the bars not to – that's why white backgrounds with black text work so well. However, you can utilise other label and ink colours (just stay away from transparent label materials!). View high-contrast barcode combinations.
- Size matters. Certain barcodes have minimum and maximum size limits. UPC-A barcodes, for example, only work between 80% and 200% their size.
- Make sure you're using a high-resolution image so your barcode prints clearly and can be easily scanned. Blurry or low-resolution images are harder for the scanner to read.
- Add a colour-coding scheme to your barcode labels to help with organisation. You can brand them, too.
- Don't print to the edge of your label. Barcodes that go to the edge or over it may be unscannable.
What type of labels do I need to print on?
We suggest choosing any of our weatherproof/waterproof materials in case your labels come into contact with liquid in transit.
Shop barcode labels
How do I print my barcodes?
Once you have your printer type figured out and your labels in-hand, it's time to get to printing. You can choose to print your barcodes on an as-needed basis or print an entire set at once. Once you have your file, you can do what's easiest for you.
If you're using Maestro Label Designer, we've broken down the steps in this tutorial.
Where do I apply my barcodes?

Your barcodes should be placed in a clear, consistent, and conspicuous spot. Before you apply them, read these tips:
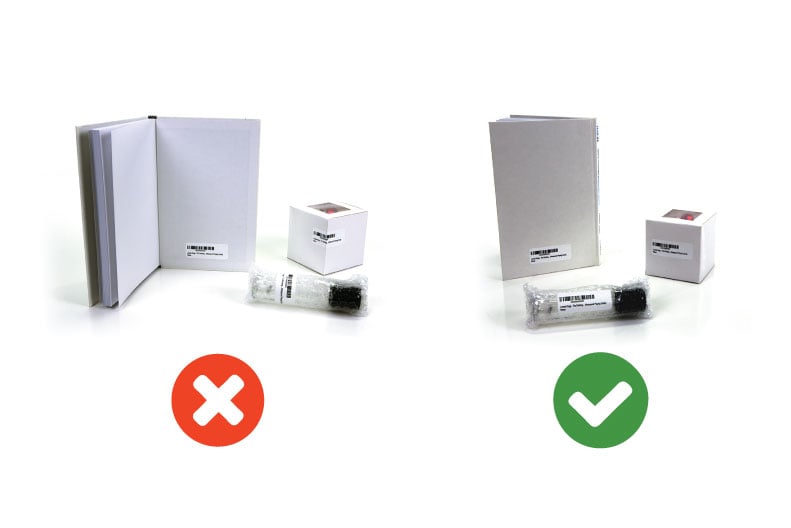
- Place at least 8mm from a seam or packaging fold. Barcode scanners can't read the codes around corners.
- Find a smooth or consistently curved surface for application. Inconsistently curved surfaces will give the scanner a hard time.
- Follow the direction of the barcode. Certain scanners work best with particular orientations.
Barcoding is a big step, but it doesn't have to be a difficult one. We hope these FAQs and their answers help you feel confident as begin to print your own barcodes. Have questions about your unique situation? Our customer service team is happy to help. Give us a call at 0203 051 9664.


